Rating
0 Rate this trail

About the Palaronda Trek

Dolomites
country
Italy
length
25.5 km(16 mi)
Type of trail
Hut to hut
difficulty

Difficulty is highly personal. Be aware of the weather conditions as bad weather turns easier trails in difficult trails especially in the mountains.

Moderate
accommodation

Lodging means a mix of hotels, hostels or AirBnB’s.

Mountain huts
Elevation gain
1983 m(6506 ft)
terrain
Mountains
remoteness
Some of the time
Show more

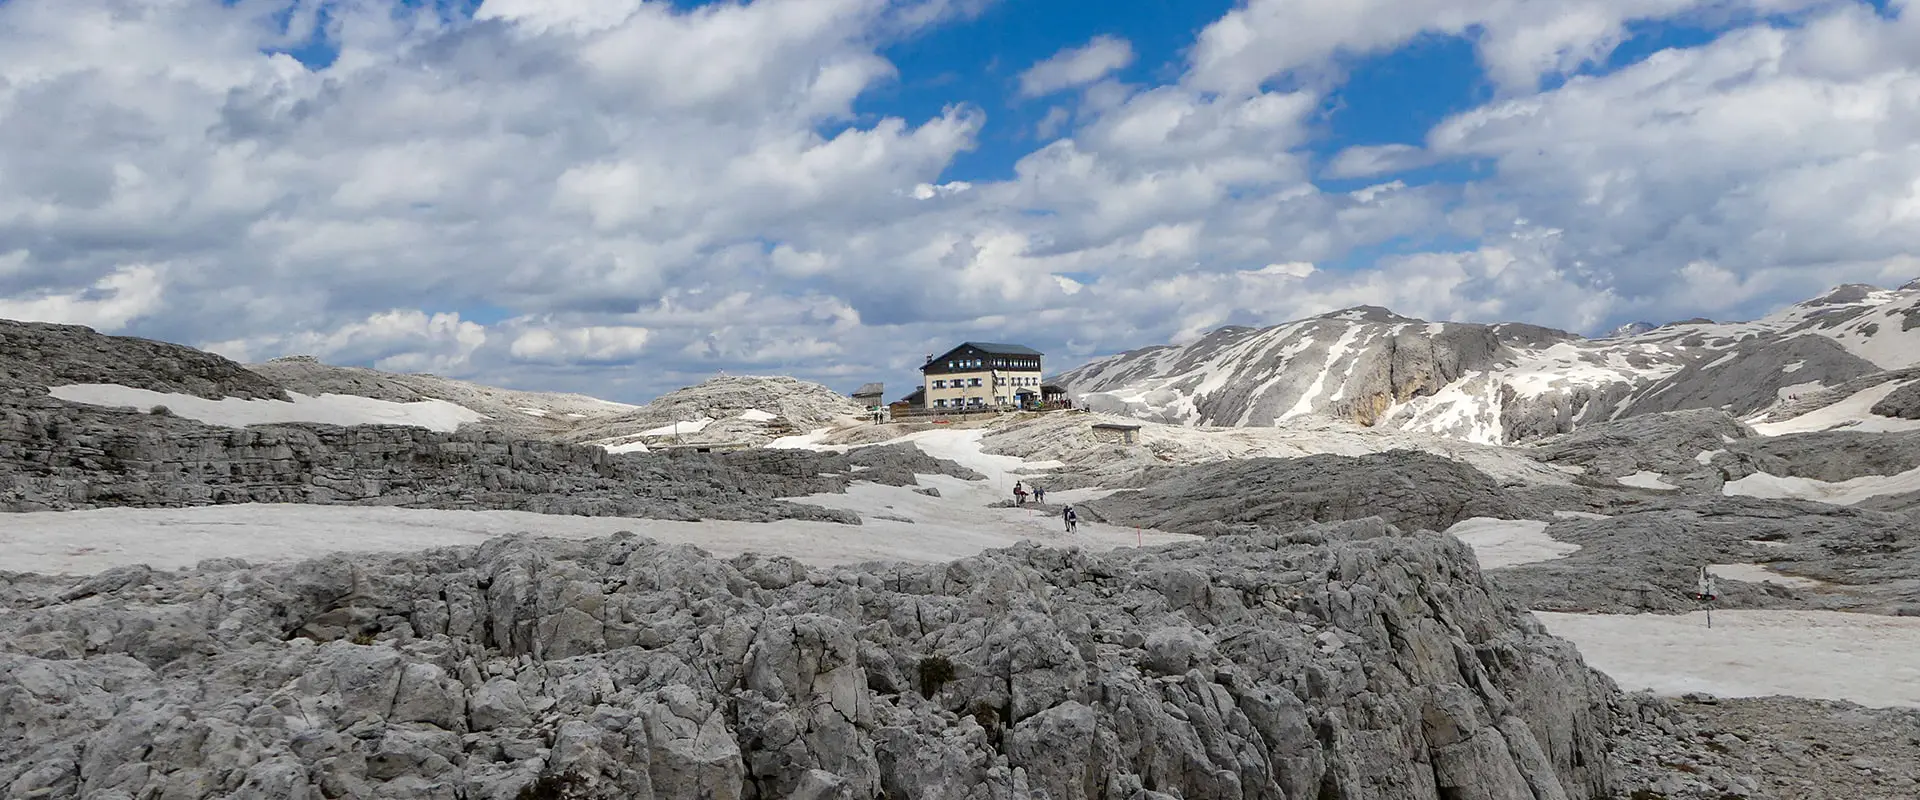
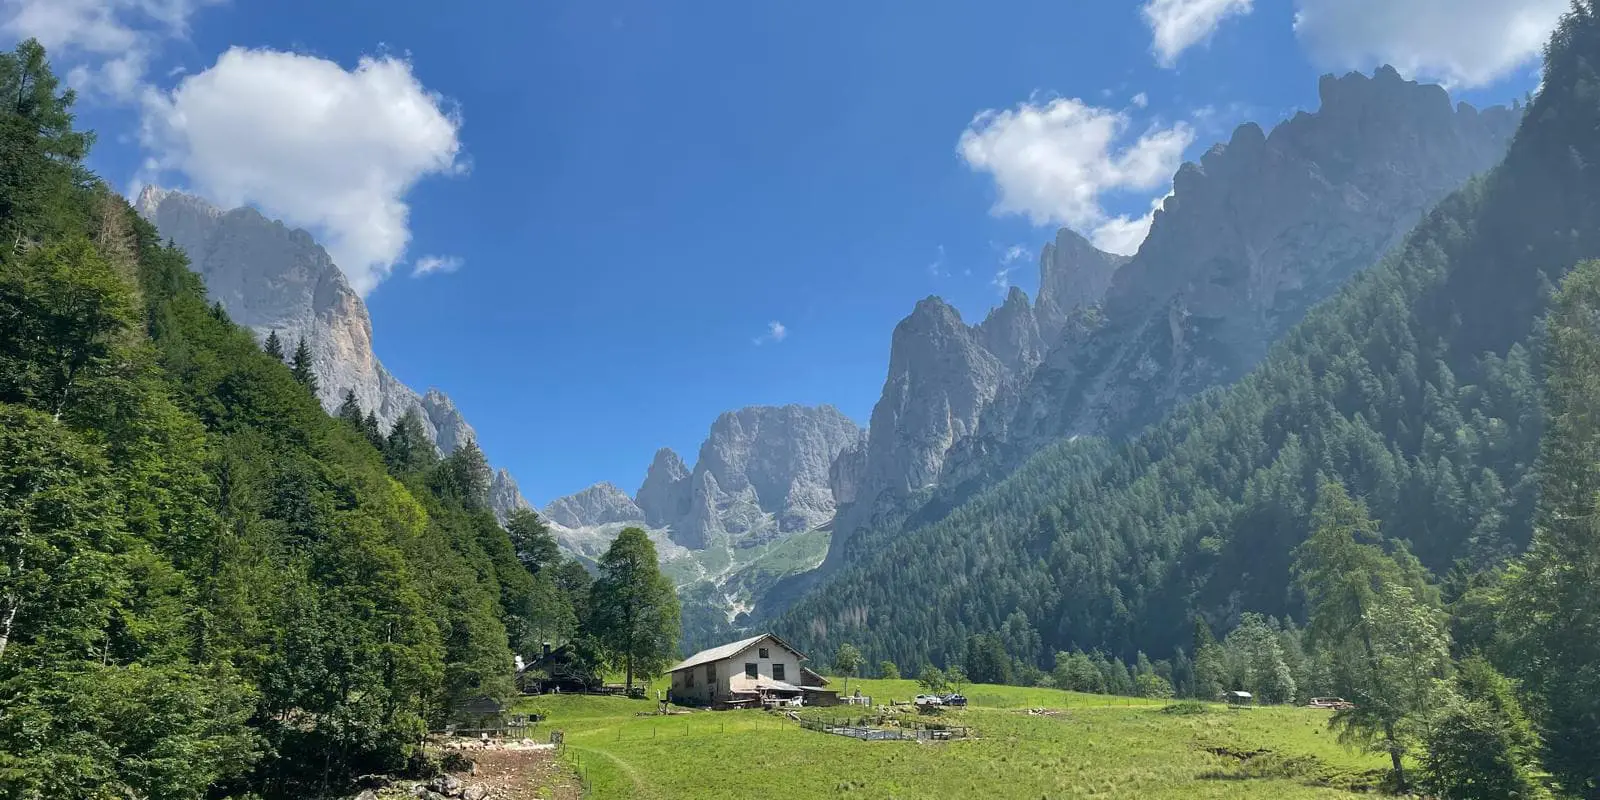
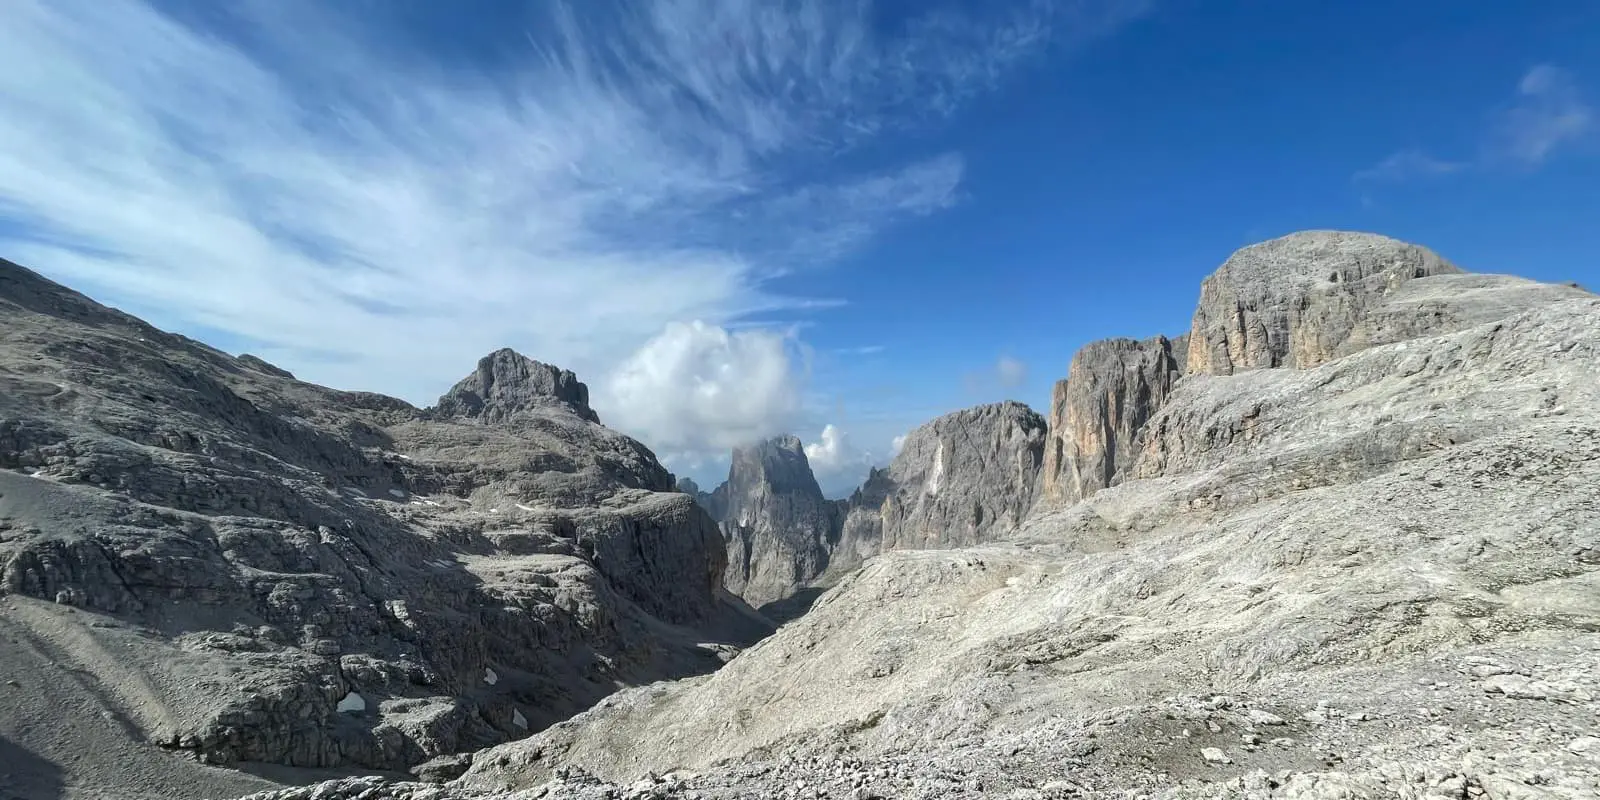
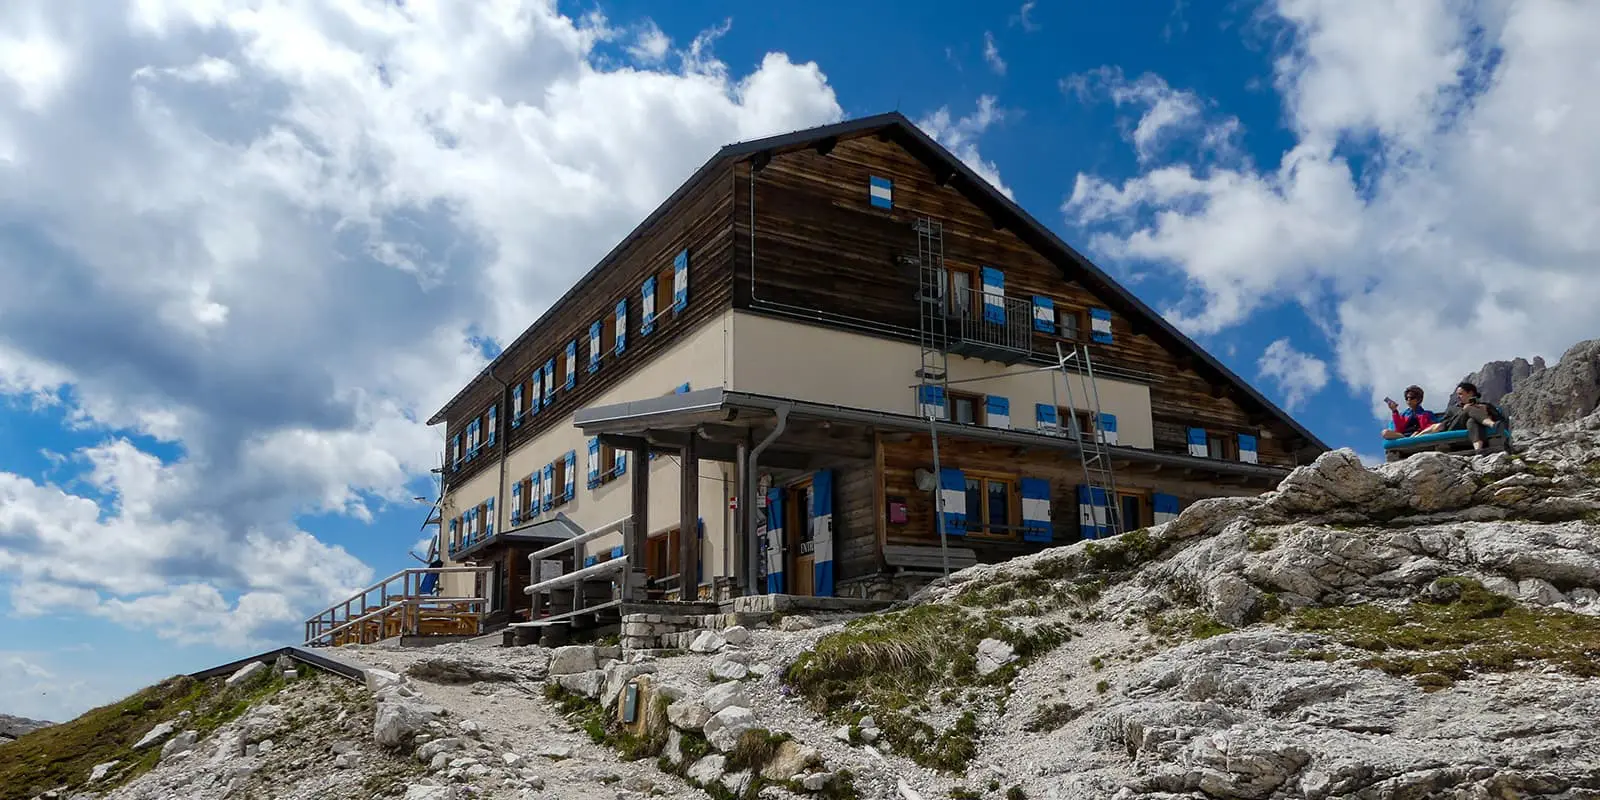
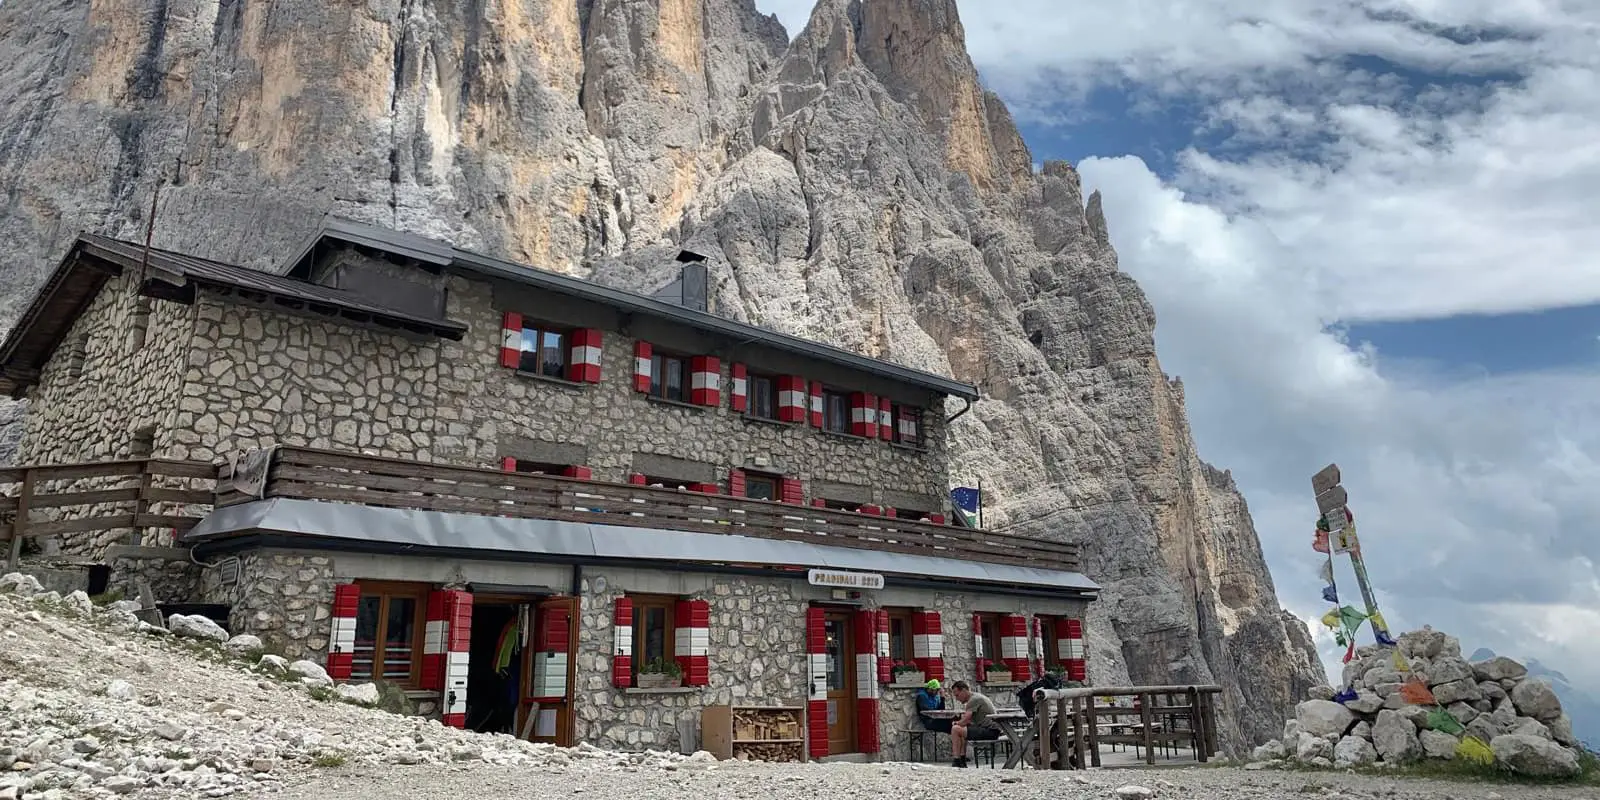
The Palaronda Trek is a four-day hut-to-hut tour, designed for anyone wanting to spend a few days in a spectacular environment in the heart of the Dolomites. The trek winds through these extraordinary mountains while remaining at a high altitude. It is an amazing trail for mountain lovers, where you’ll unlikely encounter many other people while exploring.

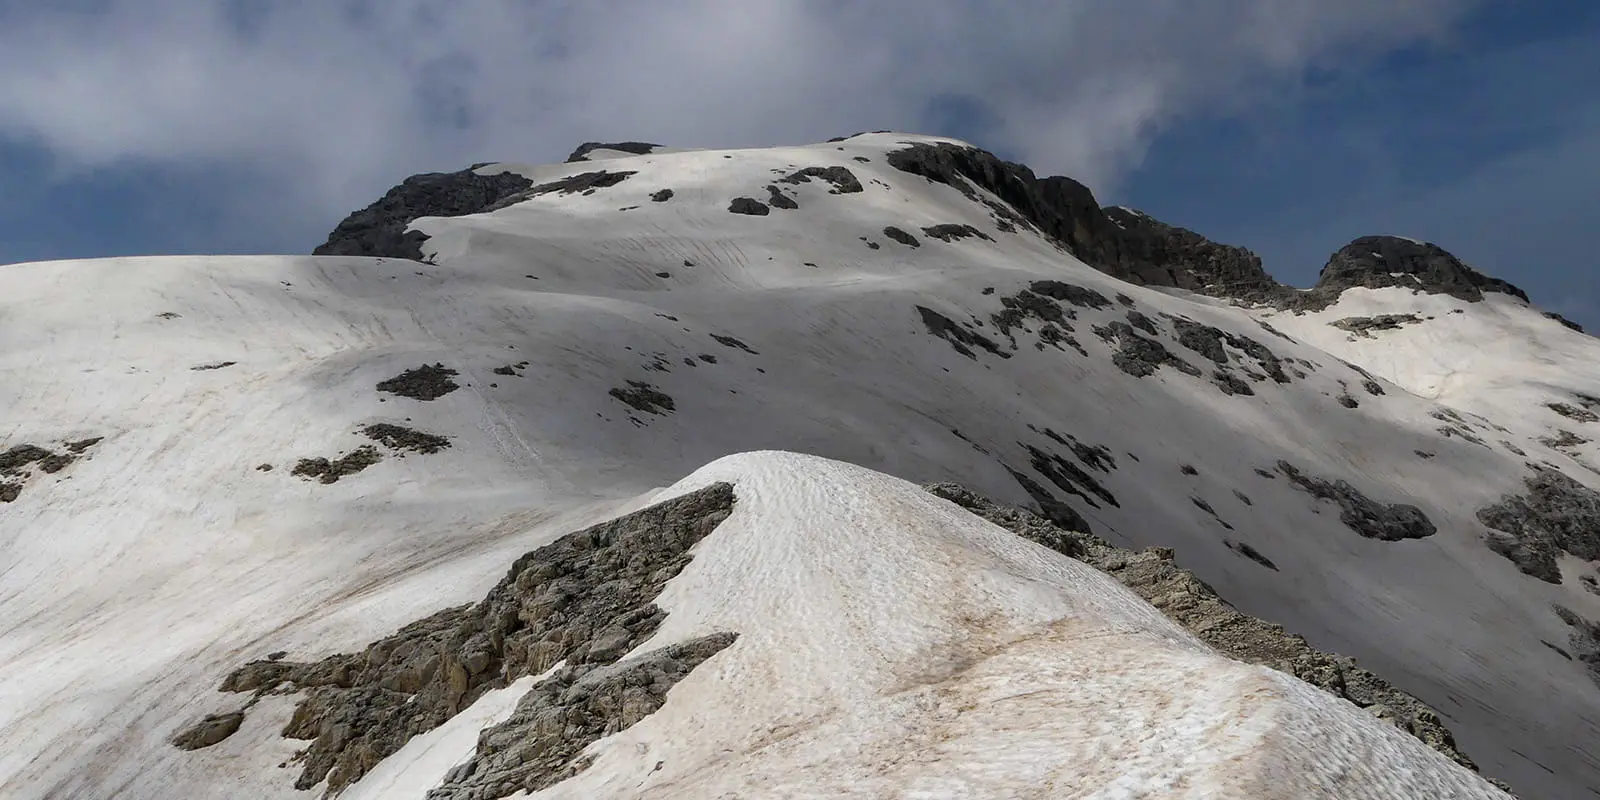
To all the Via Ferrata lovers and hikers who have already approached climbing routes, there is also a second itinerary (Palaronda Hard Trek). This one is a bit longer than the regular itinerary, with six days instead of four days. You’ll need to make sure to do this route later in the season, as the snow can cover the via ferrata even as late as early July. You’ll still stay in the cozy mountain huts along the circuit and have incredible views!

Hanna van Aalten profile picture

Hanna van Aalten

Hanna was born in a small village in the back corner of the Netherlands: one of the flattest places in the world. Even though she can’t find the mountains in her surroundings, she likes to go hiking, wild camping, and trail running. She is always looking for new challenges and enjoying the little things. What is the best way to do that in a country without mountains? By going on micro-adventures, like exploring new tracks in the area or making coffee in the woods.

As a physical therapist and health psychologist (i.o.) she wants to help people with physical and mental health problems. She encourages and inspires people to go outside, to be in motion, and to get out of their comfort zone. Being in nature is, in her opinion, one of the best ways to recover from health problems and to get the feeling of freedom and happiness.

You can follow Hanna on Instagram @hannavaalten

View profile

The Trail

The route starts from the mountain station of the San Martino cable car. From there, you first take the forest road towards Val di Roda until you reach a crossroad. The trail will lead you up to Rifugio Rosetta: the first hut. Did you arrive early and still feel energetic? You can climb the Rosetta peak, which takes about 20 minutes and is absolutely worth it. For the people who want to start the first day easy: Rosetta can also be reached by cable car from San Martino.

On the second day, the trail will lead you to the heart of the Pale di San Martino. This is a massive plateau that is famous in the region. From Rifugio Rosetta, you’ll walk about 1.5 hours towards the Fradusta glacier. Climbing on the left side, it is possible to reach the peak of Cima Fradusta (2939m). This gives you an amazing view over the mountains of the Pale di San Martino. After this perfect spot, you return along the same path to the Pradidali Basso pass. From there, the trail descends into the upper Val Pradidali where you can stay overnight at the Rifugio Pradidali.

The third day of the trail is known as the one with a challenging descent. You’ll walk on a panoramic path through impressive dolomitic faces and pass small waterfalls and streams. When you reach the beautiful Val Canali, you can admire the stunning Cima Canali and the majestic tower of Sass Moar. Then, the path goes through the woods and ends with a small climb towards the Rifugio Treviso ‘Canali’.

Finally, on the last day, it is time to finish the trek strong with a great climb. After three hours of climbing through the wide Coro Valley, you will reach the Passo Canali at the eastern edge of the plateau. Don’t miss the breathtaking 360-degree view of the Dolomites. From there, it is again three hours of hiking till the circuit ends again at Rifugio Rosetta. From here, you can take the cable car back to San Martino. Can’t get enough of hiking? No worry, you can also end the trail with the final descent on foot to San Martino.

Stages

You’ll start from town in San Martino di Castrozza and either take the cable car or hike up to the first hut, Rosetta. From there, the trekking in the alpine begins.

Palaronda Trek 4-Day Itinerary

Stage 1:

San Martino di Castrozza – Rosetta Hut, 6.2 km | 3.9 mi

Stage 2:

Rosetta Hut – Fradusta Glacier – Pradidali Hut, 9.8 km | 6.1 mi

Stage 3:

Pradidali Hut – Treviso ‘Canali’ Hut, 8.7 km | 5.4 mi

Stage 4:

Treviso ‘Canali’ Hut – Rosetta Hut, 10.7 km | 6.6 mi

Accommodations

When hiking this trail, you’ll stay in one of the mountain huts (rifugios) alongside the trail. You’ll need to book all accommodations a few months in advance as the season for this trail is short and the capacity of the huts is limited.

The Alta Via 2 overlaps with the Palaronda Trek and Rifugio Canali is a hub for climbers in the area, so there’s a great mix of people in the huts. Most of the time you’ll sleep in dormitories with bunk beds. All four huts have great breakfast, lunch, and dinner possibilities. Also, the dinners mostly have options for different dietary needs (gluten-free, vegetarian, lactose-free).

Palaronda Trek Mountain Huts

Stage 1:

Rifugio Rosetta

Best time of the year

The season for the Palaronda Trek runs from the end of June until mid-September. This is completely in line with other trails in the Dolomites. At other times of the year, the huts are not open and thus you won’t be able to spend the night outside the season. July and August are the busiest months for trekking in the Dolomites. As you’re hiking in the mountains, be aware that there are snowfields in early summer and there might be early snowfalls in late summer and early autumn.

Keep in mind that the weather in the Dolomites can change rapidly, and it’s important to be prepared for all conditions. Be sure to bring waterproof and warm clothing, not just shorts. Always check trail conditions and local weather forecasts before starting the hike.

Safety & Gear

To safely pack for the Palaronda trek, you’ll need to be prepared for changing conditions. The Dolomites are known for their shifting weather and rocky trails, so dress in layers to stay warm and dry and wear sturdy hiking boots with good ankle support. You’ll want to bring micro-spikes for any snowy weather conditions (all year round!), as well as trekking poles for the steep descents.

Even though this is a mini-trek, it’s important to take safety precautions before you set out each day. Pack enough water, sufficient food, a first aid kit, and a mobile phone for emergencies. Also, always check the weather forecast, download maps, and avoid hiking during extreme weather conditions.

Good to know

The Dolomites are a very popular destination among hikers all over the world. Make sure you book the mountain huts a few months in advance to secure your spots each night. Most huts can be booked by sending them an email or applying on their website.

Want to submit a trail or make this page more complete?

Comments

Be the first one to comment on this trail!

Reply to this trail

Your email address will not be published. Required fields are marked *

Reply to this trail

Log in to comment on this trail
Always read the disclaimer

Terms of Use: important to all visitors on this website. We strive to publish high quality content and information on this website. However it’s always possible that we’re missing out on some crucial information. In spite of the fact that this route, associated GPS track (GPX and maps) were prepared under diligent research by the specified contributor and/or contributors, the accuracy of such and judgement of the author is not guaranteed. Therefore, hiking-trails.com and contributors are in no way liable for personal injury, damage to personal property, or any other such situation that might happen to individuals hiking or following this route. Should you choose to hike this trail, this is always at your own risk. Check out our guidelines for safety hiking and Leave No Trace principles at the hiking 101 page.

Download GPX

Join the community!

Login or create a FREE account 😊

With an account you can:

Download GPX files

Pin trails to your wishlist

Mark trails as hiked by you

Rate hiking trails

Comment on trails, blogs and gear reviews

Happy trails!
Login

Don't have an account yet? Register here