About the Iceland Crossing

country
Iceland
length
413 km(257 mi)
Type of trail
Thru-hike, Long-distance
difficulty

Difficulty is highly personal. Be aware of the weather conditions as bad weather turns easier trails in difficult trails especially in the mountains.

Strenuous
accommodation

Lodging means a mix of hotels, hostels or AirBnB’s.

Wild camping, Camping, Mountain huts
Elevation gain
6048 m(19843 ft)
terrain
Mountains, Desert, Flat, Hills
remoteness
Most of the time
Show more

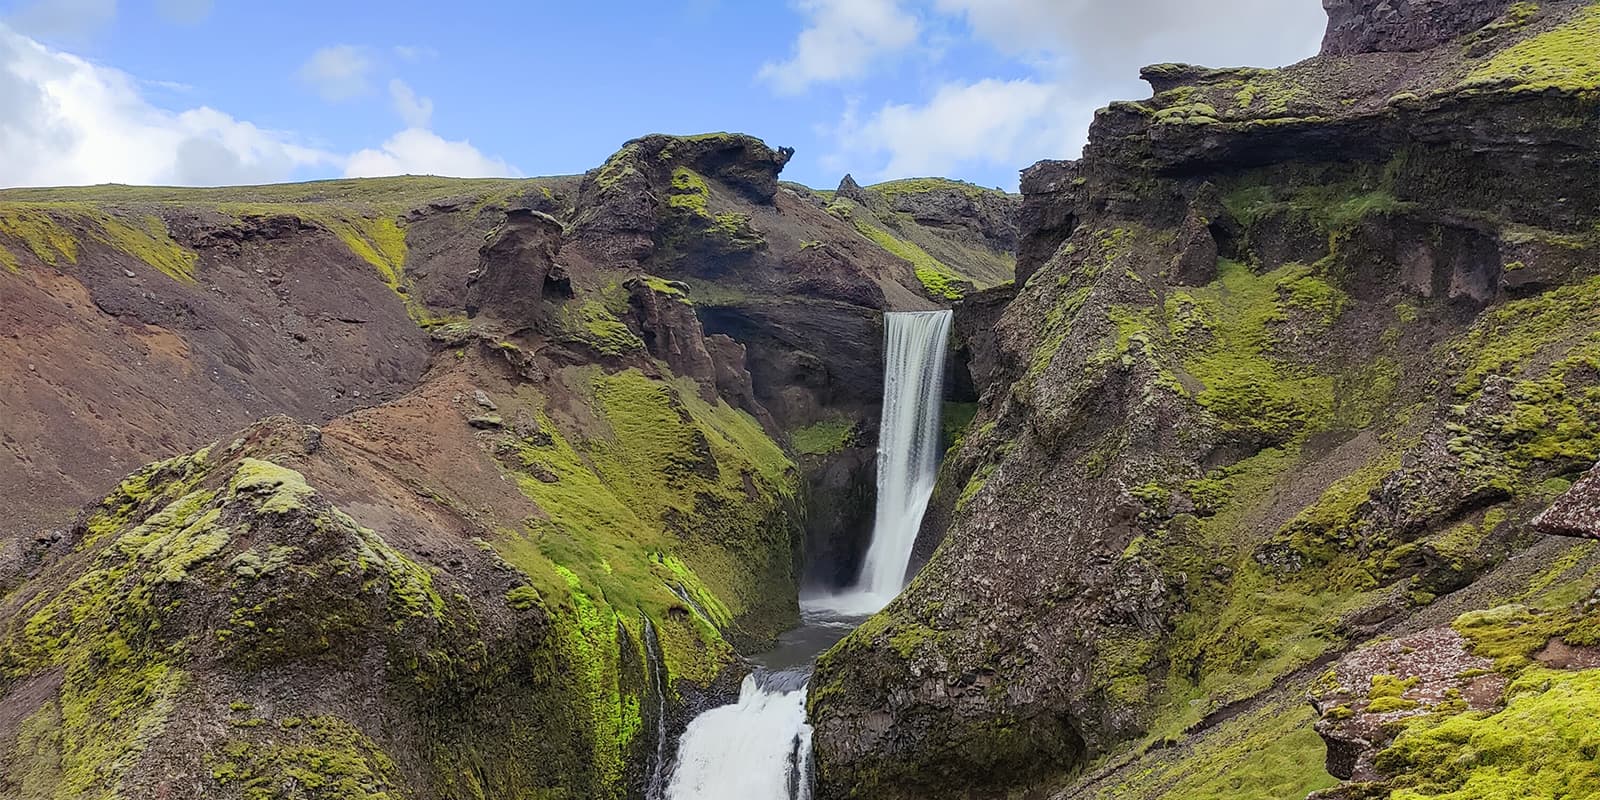
Iceland is the land of ice and fire, fairies, trolls, geothermal springs, rivers and waterfalls, sheep and horses. A land that has a mythical touch and lies on the American and the European continental plate. Therefore it is full of volcanic activity, showing off with spectacular eruptions that form the land.

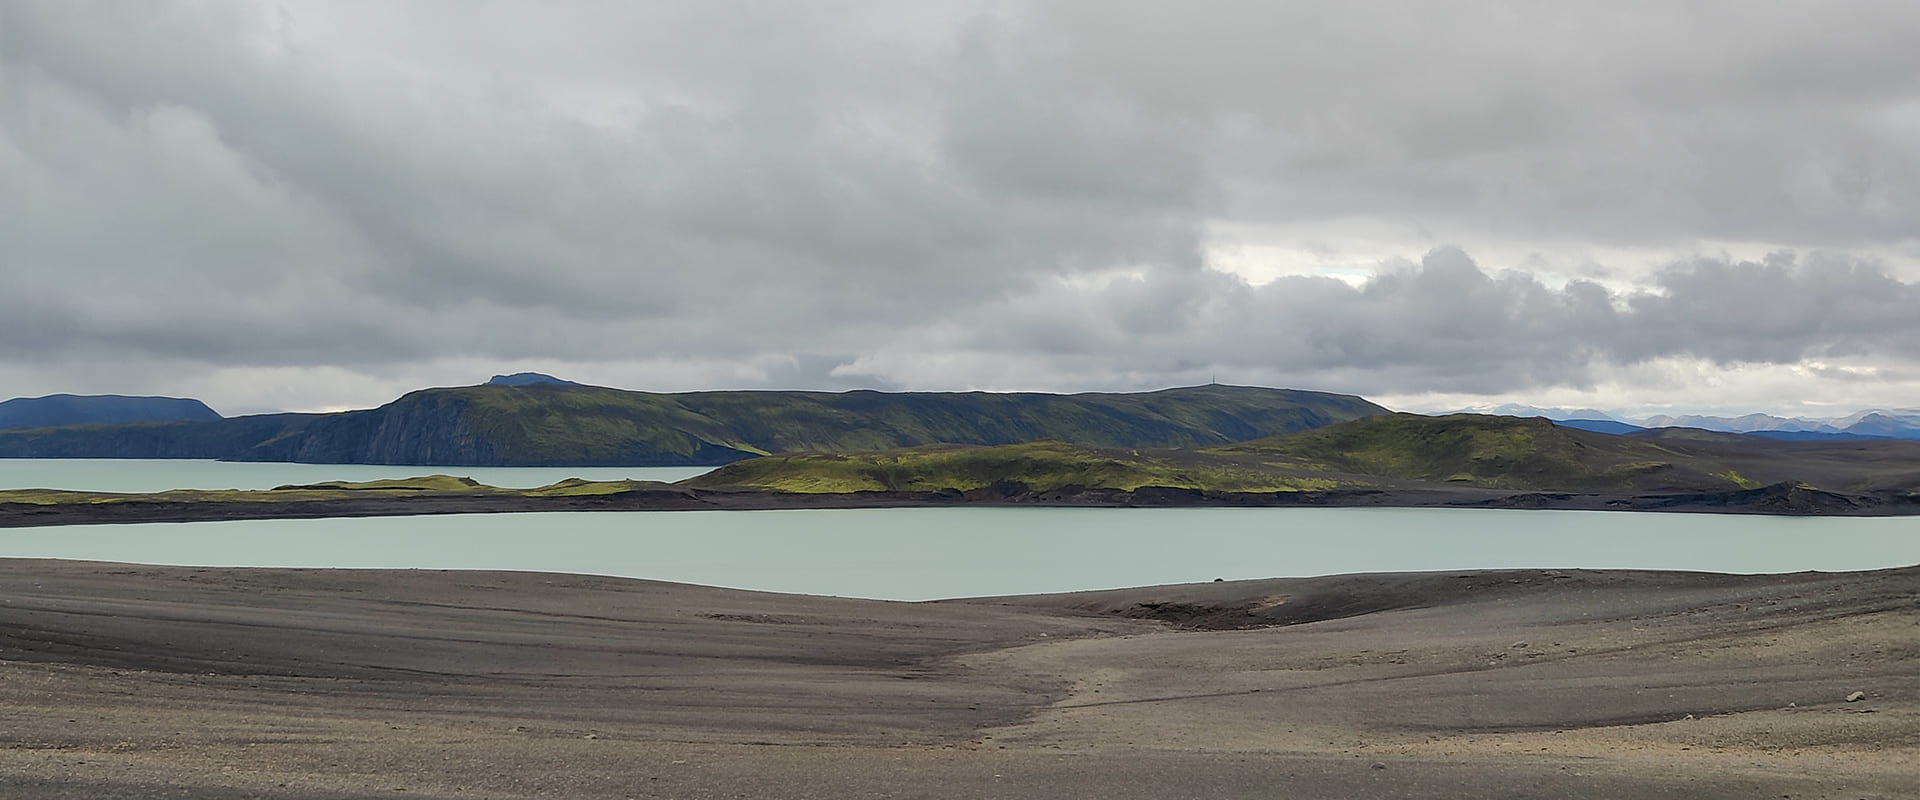
Iceland’s unique and diverse landscape is best experienced on foot. There are many starting points to choose from, many possibilities to cross it, east to west and north to south. The Iceland Crossing goes north to south starting at Lake Mývatn, a spectacular, alien-like landscape, and goes through what the Icelanders call “The Sands.” You’ll walk beside massive glaciers for days, viewing them from various angles, and they’ll never cease to amaze you. They are called Vatnajökull, Hofsjökull, Mýrdalsjökull, and the infamous Eyjafjallajökull, just to name a few. Under all these glaciers, there are volcanoes. However, be prepared for some dark and monotonous landscape reminding you of Mordor. Do not lose the ring on the way! You will see many different shapes of volcanic sculptures and rocks as well as fascinating flora that adapted to these conditions

Phillip Eilmer profile photo
Author

Philipp Eilmer

Philipp Eilmer was born in Austria, a country known for the breathtaking landscapes of the Alps and unspoiled nature. He thrives in the outdoors and his curiosity leads him to explore the wonders of nature by foot. He loves the untamed trails of North America and finds solace under the beauty of star-covered skies, whether sleeping in his tent or embracing the rugged simplicity of cowboy camping. You can follow Philipp on Instagram @phips_snowcat

View profile

The Trail

The end of the Iceland crossing is the stunning Laugavegur. If you do the crossing north to south, not only is the end more rewarding but also you often have winds coming from the North that you would have to hike against. A bus can take you from Akureyri to Mývatn and then you can start this adventure.

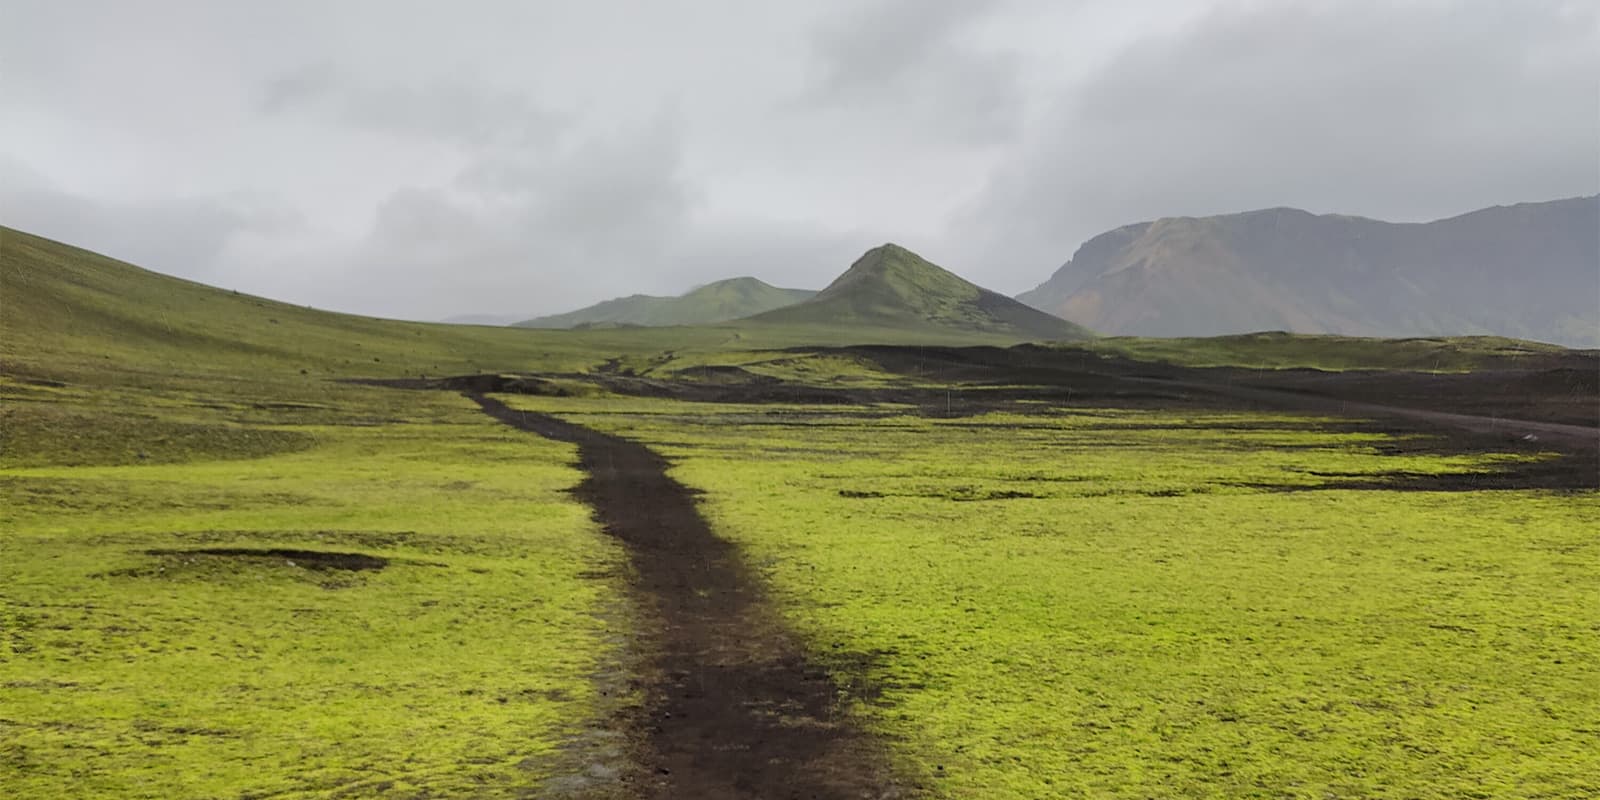
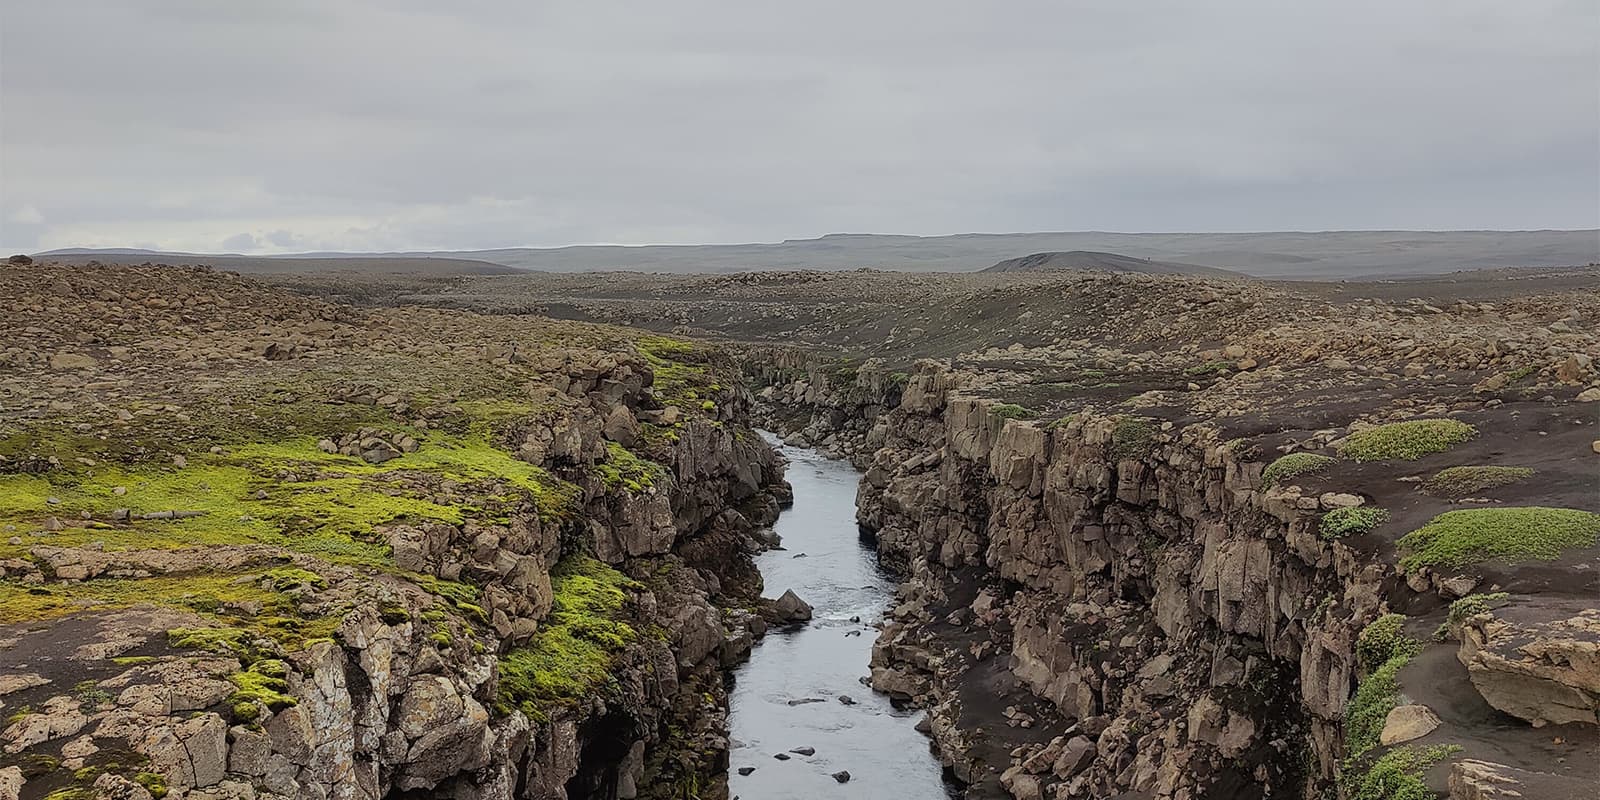
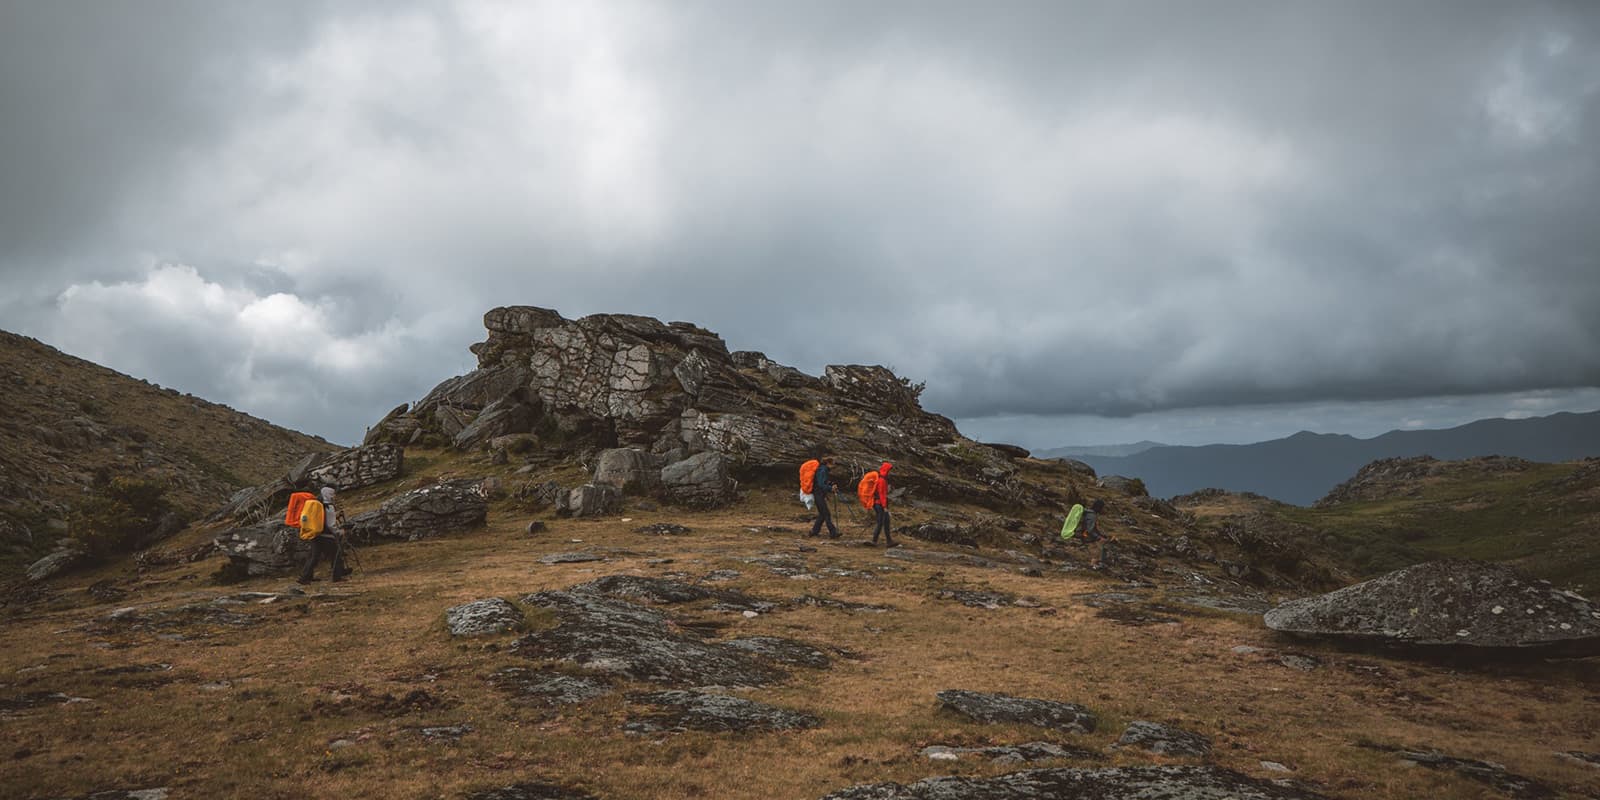
The first 5-6 stages of this 413km route are mostly desert-like areas where you see interesting volcanic formations that remind you of Mordor. While the beginning is more flat with wide horizons, it gets more hilly and mountainous between stages 3 to 5/6. There the trail starts to climb a little more and ends at Kistufell emergency hut which is the highest point of the first stages. The landscape can be depressing when there is a lot of mist but also very beautiful and full of magic when it is sunny.

Be prepared for rugged and sharp rocks and long stretches without water. Between stages 4-6 there is a ~60km (37 mile) stretch with no reliable water sources. However, there can be water at Kistufell emergency hut and seasonal streams. It is highly recommended to contact safetravel@safetravel.is about the water situation and trail conditions before you start the hike.

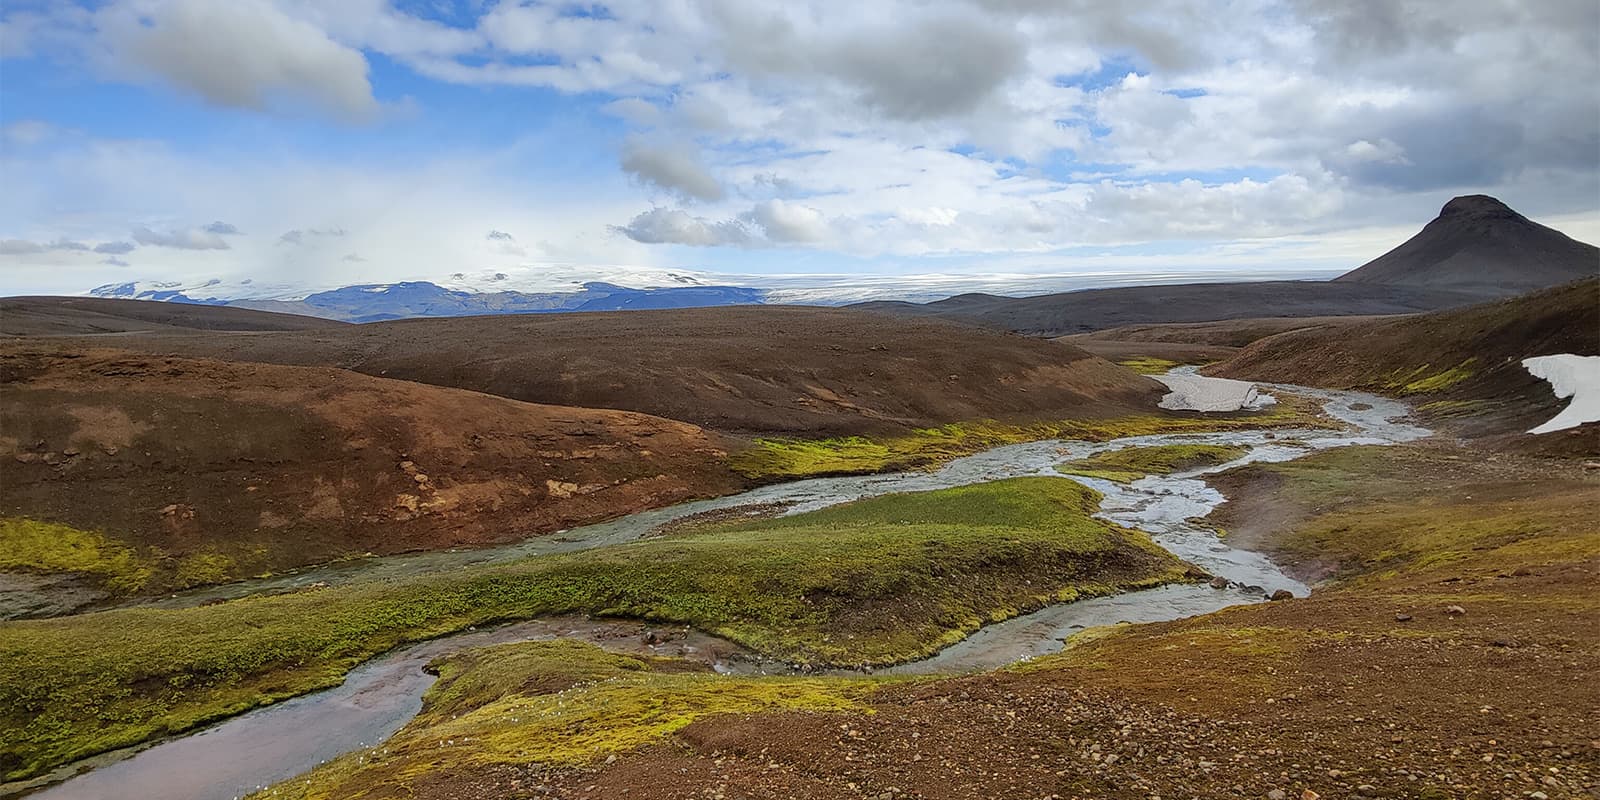
While stage six after Kistufell Hut has some climbs in the beginning, it is a good downhill stretch afterwards. During this stage the views on the Vatnajökull glacier are breathtaking and it is a nice change of scenery from the volcanic desolation the trail has been going through before.

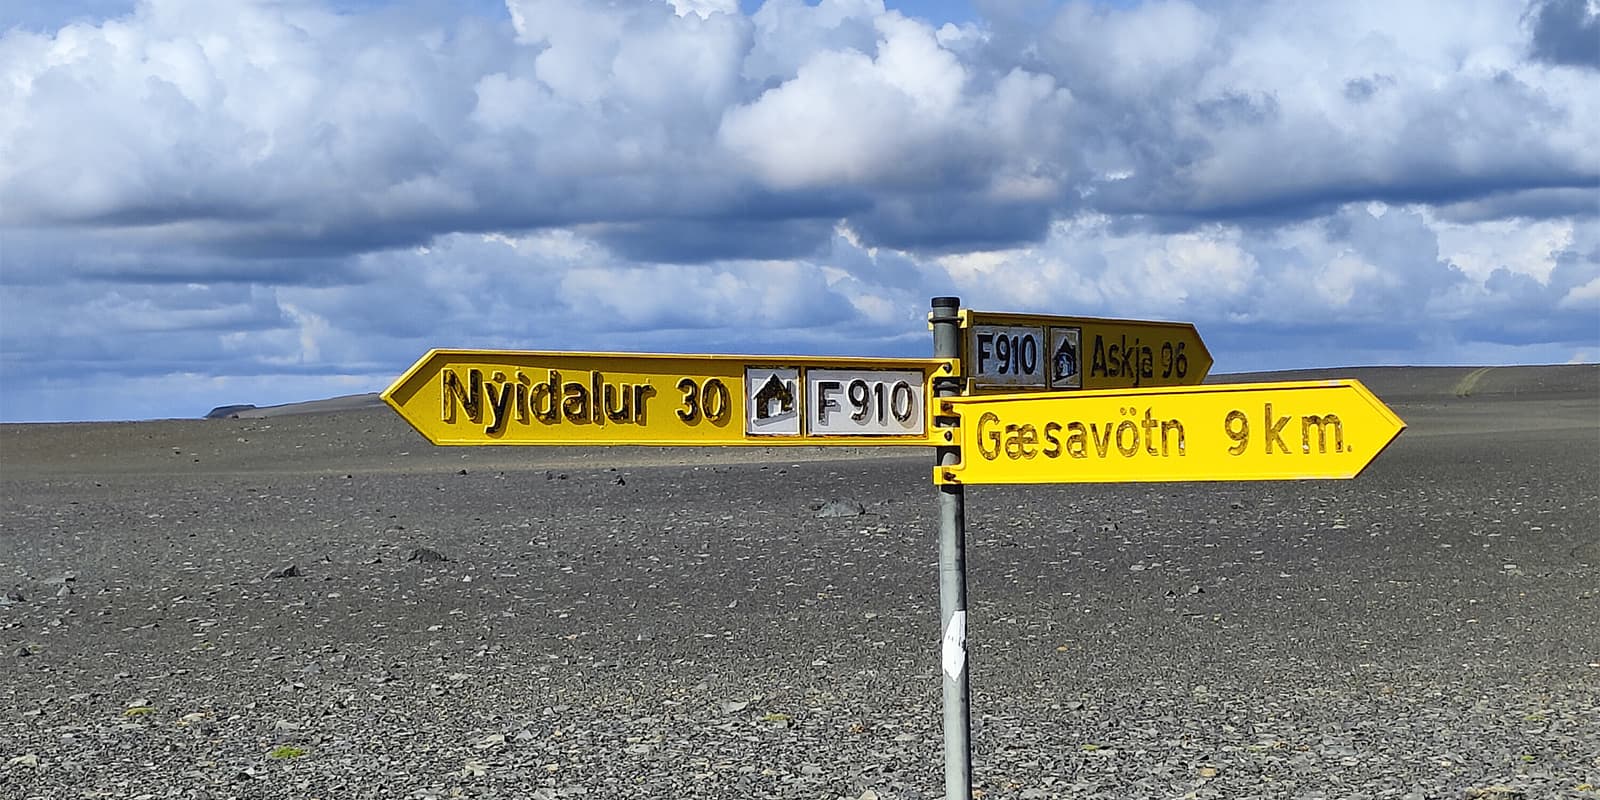
Stage seven to Nýidalur Hut has a big climb that can be really exhausting but there are some natural hot springs that invite you to take a break. They are located ~13kilometers/8 miles before the hut. Be sure to keep your eyes open because there are just some very small rock pools where you can sit in the water, they are easy to miss! The views are amazing and you can see the Vatnajökull from a different angle while you also see Hofsjökull appearing on the horizon after you reach the mountain plateau before Nýidalur hut. This stage in general offers rewarding views on a tough day.

Stages 8-11 are relatively easy compared to the stages before. The trail goes next to the mighty Hofsjökull for many days. There is a lot of up and down but no hard and long climbs. However, the landscape is desert-like again and this can be hard on the mind. The abandoned hut at the end of stage 8 is a little dirty but it offers protection from wind that can blow very hard here, additionally it is close to Hofsjökull and the view is amazing. The trail leads over some dikes and the permanent up and down can be tiring. On stage 11 there is a longer climb before a bigger drop in elevation and the trail meets a paved road. This road finally leads to the Hrauneyjar Highland Center. There is a restaurant and a hotel. They also accept resupply boxes being dropped there.

Stage 12 leads from the Highland Center to Landmannalaugar. There is a short climb and very soon the trail connects to a dirt road that leads all the way to Landmannalaugar. This is a busy area full of tourists and a road full of cars. From the solitude of the stages before is nothing left.

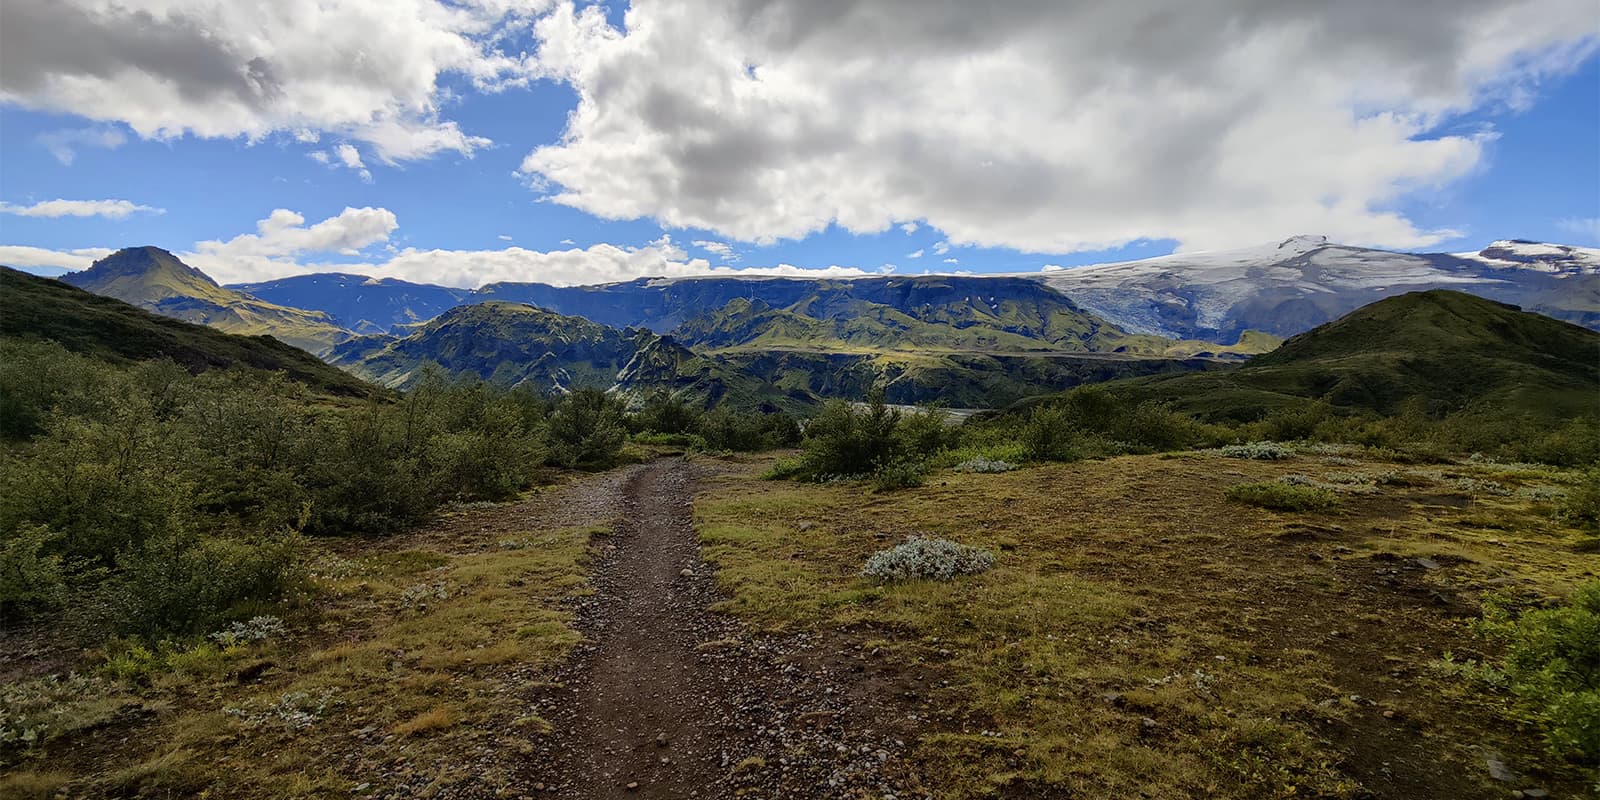
Stage 13-16 is the breathtaking Laugavegur and Fimmvörðuháls Trail. These trails are a very nice yet strenuous end of the Iceland crossing. Kata, the warden on Baldvinsskali Hut on Fimmvörðuháls Trail, is a very welcoming person. Make sure to take a break there and you very likely will receive some coffee from her. If you can manage to carry some ground coffee up to her, you will make her day!

After arriving in Skógar there is a campground and a hotel with a restaurant. Also a bus that goes to Reykjavik leaves from there. Hitchhiking back to Reykjavik works quite well too.

Stages

16-stage itinerary

Stage 1:

Mývatn – Sellandafjall, 20 km | 12.5 mi

Stage 2:

Sellandafjall – Volcanic sand land, 25 km | 15.6 mi

Stage 3:

Volcanic sand land – creek after Dyngjufjöll Hut, 20 km | 12.5 mi

Stage 4:

Creek after Dyngjufjöll Hut – stone desert, 27 km |16.9 mi

Stage 5:

Stone desert – Kistufell emergency hut, 26 km | 16.3 mi

Stage 6:

Kistufell emergency Hut – spot next to the creek, 31 km | 19.4 mi

Stage 7:

Spot next to the creek – Nýidalur Hut, 33 km | 20.6 mi

Stage 8:

Nýidalur Hut – abandoned hut, 32 km | 20 mi

Stage 9:

Abandoned hut – spot next to the lake, 27 km | 16.9 mi

Stage 10:

Spot next to the lake – spot next to the road, 28 km | 17.5 mi

Stage 11:

Spot next to road – spot after Hrauneyjar Highland Center, 27 km | 16.9 mi

Stage 12:

After Hrauneyjar Highland Center – Landmannalaugar Hut, 34 km | 21.3 mi

Stage 13:

Landmannalaugar Hut – Álftavatn Hut, 21 km | 13.1 mi

Stage 14:

Álftavatn Hut – Emstrur (Botnar) Hut, 15.6 km | 9.8 mi

Stage 15:

Emstrur (Botnar) Hut – Básar, 18 km | 11.3 mi

Stage 16:

Básar – Skogar/Ocean, 28 km | 17.5 mi

Accommodations

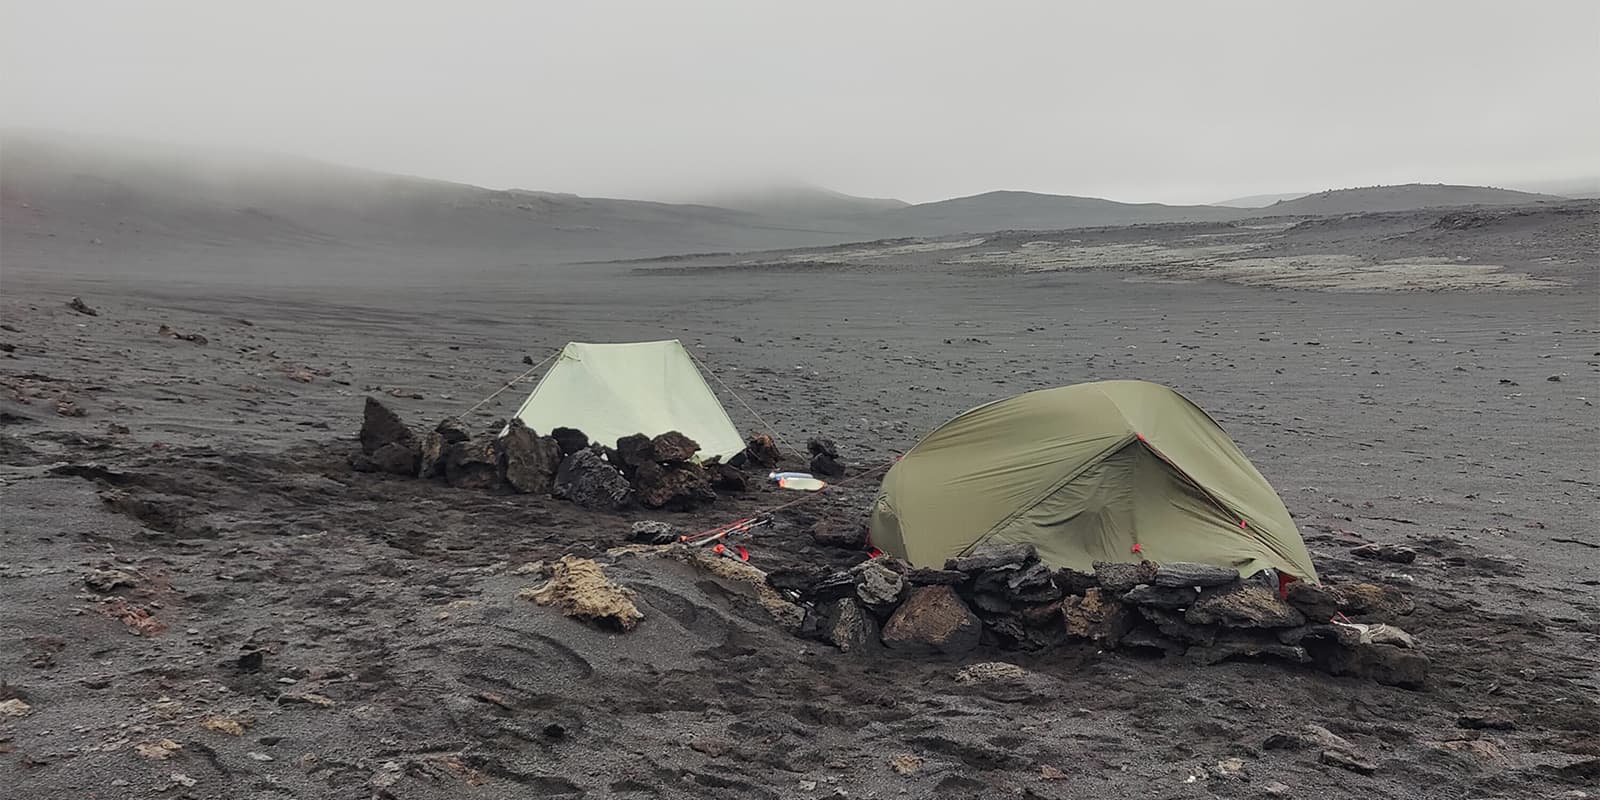
When hiking the Iceland Crossing, you will mostly stay in your tent wild camping. There are some huts that you can stay in or camp next to. These huts offer some facilities like a pit toilet or WC and some even have a shower and kitchen, which you will have to pay extra for. On the final stretch of this crossing, the Laugavegur, you will always camp next to huts (and have to pay). If you decide to sleep in the huts, you can book them online on the official page which is posted under “useful links” below. Or you “walk in” without booking; but this may not guarantee you a spot.

Especially in Laugavegur,, it can help a lot to book in advance if you decide to stay in a hut because this part can be crowded. The huts offer very basic groceries and freeze-dried food.

Possible huts for overnight stays:

  • Dyngjufell Hut
  • Kistufell emergency Hut
  • Nýidalur Hut
  • Landmannalaugar Hut (start of the Laugavegur; Stage 1)
  • Hrafntinnusker Hut (Laugavegur Stage 2)
  • Álftavatn Hut or Hvanngil Hut (Laugavegur Stage 3)
  • Emstrur Hut (Laugavegur Stage 4)
  • Þórsmörk Hut or Básar Hut (Laugavegur Stage 5/End of Laugavegur)
  • Baldvinsskáli (Fimmvörðuháls Trail to Skogar – End of Crossing)

Best time of the year

The best time of the year do the Iceland Crossing is from July to August (Icelandic summers are different from Central-European summers). As you’re hiking in the mountains, be aware that there might be snowfields and even snowstorms in summer. Generally, the hiking season in Iceland is limited to the summer months when the weather is milder and the snow has melted, making the trails accessible.

However, keep in mind that the weather in Iceland can change rapidly, and it’s important to be prepared for all conditions, including rain or snow. Always check trail conditions and local weather forecasts before starting a hike in the Highlands/The Sands. Additionally, consider your hiking experience and skill level, as the Iceland crossing can be challenging and require proper equipment and experience.

Safety & Gear

Have proper rain gear with you, you´ll be happy to have waterproof socks, mittens and a proper cover for your backpack (an additional inside layer, like a thick trash-bag, for the backpack helps to keep everything dry).

There’s no way to recharge electronics at the huts along the trail (only in Álftavatn-Restaurant) so make sure to have enough power-banks with you!

Before you go on the Iceland Crossing, contact the rangers via safetravel@safetravel.is. Let them know your route and ask about trail and water conditions as well as river crossings. Furthermore, there is not much cell-signal, so be prepared for being isolated for many days in a row.

For river crossings, bring a separate pair of footwear, like sandals and make sure to teach yourself how to properly cross a river!

Since Icelandic summers are not like central European summers, the temperature can fall below 0° C. Be prepared for cold nights by having a proper sleeping bag and maybe a base-layer.

For the first stretch that can be very dry, make sure to have water capacity for up to 3 days with you.

Winds can reach up to 30m/s, in the highlands this can blow a lot of sand in your eyes, have good glasses with you.

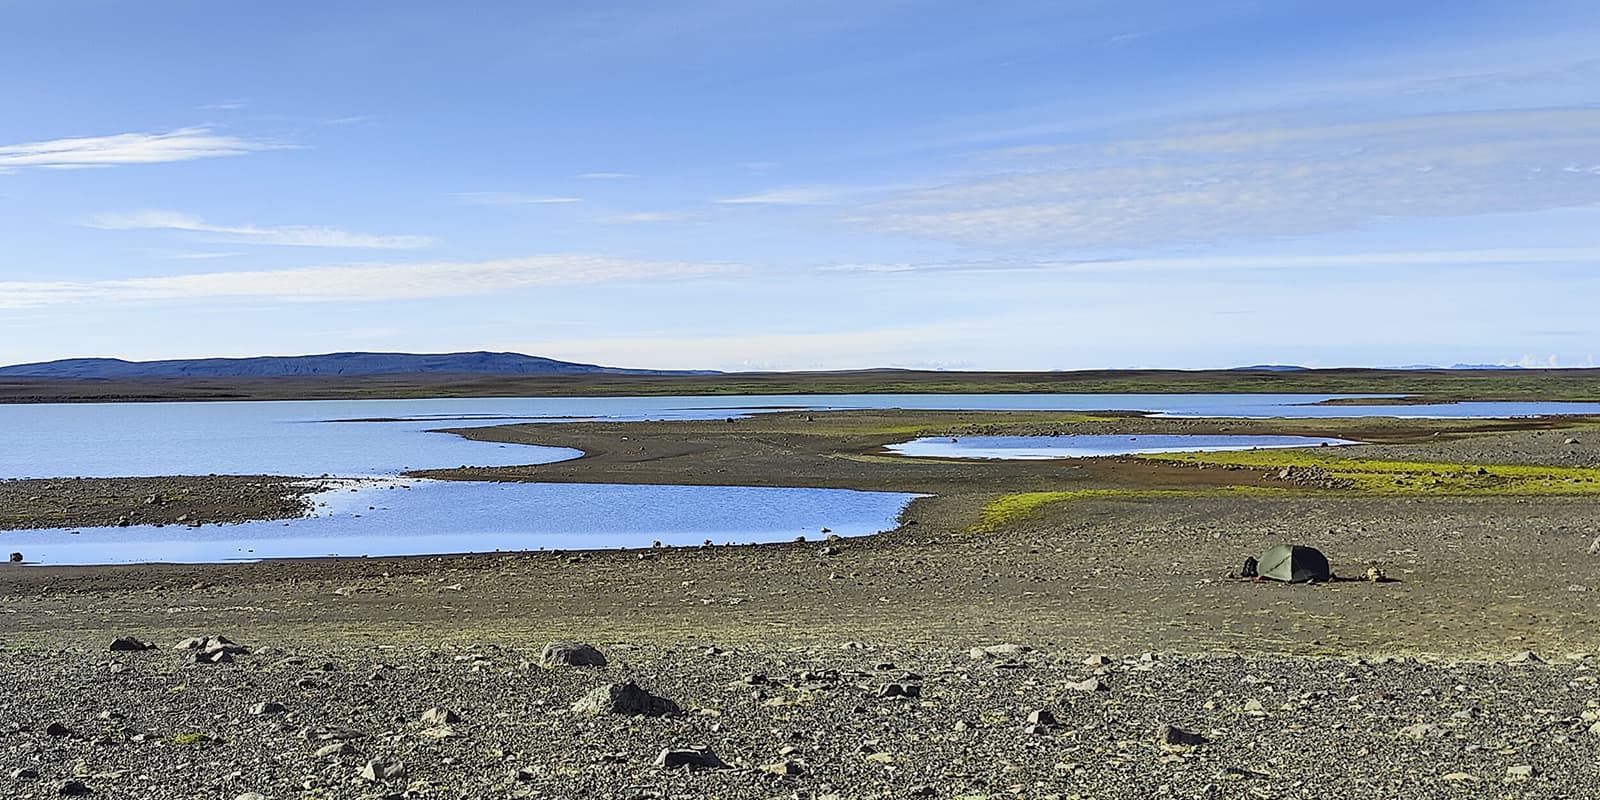
At some point,, there are no running streams but just lakes as water sources. Bring a filter to filter the water from the lakes before drinking.

Good to know

Since Iceland is very expensive, try to bring food from home. This will save you a lot of money. However, when you do that, make sure that you have read the custom information about bringing food into Iceland. There is a limit of 10kg/person. Also,, figure out the resupply situation, as you might want to send food to Nýidalur and Landmannalaugar huts. Ask the rangers about that.

Landmannalaugar Hut has hot springs where you can dip in and relax, the stretch 13 kilometers/8 miles before Nýidalur-Hut also has a hot spring area with a very tiny pool where you can enjoy hot water.

Additionally, you can pay cashless everywhere and the stages can be individually adapted.

route
point to point
highest point
1184m (3885 ft)

Want to submit a trail or make this page more complete?

Always read the disclaimer

Terms of Use: important to all visitors on this website. We strive to publish high quality content and information on this website. However it’s always possible that we’re missing out on some crucial information. In spite of the fact that this route, associated GPS track (GPX and maps) were prepared under diligent research by the specified contributor and/or contributors, the accuracy of such and judgement of the author is not guaranteed. Therefore, hiking-trails.com and contributors are in no way liable for personal injury, damage to personal property, or any other such situation that might happen to individuals hiking or following this route. Should you choose to hike this trail, this is always at your own risk. Check out our guidelines for safety hiking and Leave No Trace principles at the hiking 101 page.

Download GPX

Join the community!

Login or create a FREE account 😊

With an account you can:

Download GPX files

Pin trails to your wishlist

Mark trails as hiked by you

Rate hiking trails

Comment on trails, blogs and gear reviews

Happy trails!
Login

Don't have an account yet? Register here