About the Trolltunga Via Ferrata

country
Norway
length
28 km(17 mi)
Type of trail
Day hike
difficulty

Difficulty is highly personal. Be aware of the weather conditions as bad weather turns easier trails in difficult trails especially in the mountains.

Difficult
accommodation

Lodging means a mix of hotels, hostels or AirBnB’s.

Camping, Lodging
Elevation gain
800 m(2625 ft)
terrain
Mountains
remoteness
Some of the time
Show more

Trolltunga, which means “Troll’s Tongue,” is a rock formation that juts out 700 meters above Lake Ringedalsvatnet. From there, you get an awesome view of the fjord below. The hike starts in Skjeggedal and is about 28 kilometers round trip. It usually takes 10-12 hours to finish, so it’s a long day even for experienced hikers.

If you want more of a challenge, try the Via Ferrata route to Trolltunga. This path mixes hiking and climbing, using fixed steel cables, ladders, and bridges to help you safely climb the rock face. It’s a fun alternative to the usual trail. It doesn’t matter if you hike or climb, reaching the top of Trolltunga will give you incredible views of Norway’s fjords.


Luke Martin profile picture
Author

Luke Martin

Luke Martin, from Long Island, New York, recently graduated from Colorado State University with a degree in Business Administration. Embracing an adventurous lifestyle, he enjoys hiking, camping, and photography. Luke also advocates for food allergy awareness, a cause close to his heart due to his own severe allergies. His extensive travels have profoundly enriched his appreciation for global cultures, deepening his understanding of diverse human connections and traditions.

You can follow Luke on Instagram @luke_martinnn or his photography account @_lifeofluke

View profile

The Trail

On this trail you can choose to hike the standard route or include the Via Ferrata for an extra challenge. The options are listed below.

1. Via Ferrata Up / Via Ferrata Down

This route is the most adventurous approach to and from Trolltunga. You can expect a total hiking distance of about 4-7 kilometers from Skjeggedal to the base of the Via Ferrata. This provides a good mix of easy and more challenging sections, preparing you physically and mentally for the Via Ferrata climb. Once you reach the base of the Via Ferrata, this is where the fun really begins. This Via Ferrata involves a series of metal rungs that are straight vertical with a few simple traverses sprinkled in as well. There are a few sections that require decent upper body strength for simple overhangs.

However, you shouldn’t be worried since you will be secured with a harness to a steel cable the entire time. There are also a few ledges throughout to take snacks and water as well as appreciate the views. This option has stunning vertical and panoramic views and is both physically demanding and exhilarating. There are a series of 3 stages of the ferrata. The first is the longest, followed by 2 significantly smaller sections. Once reaching the top, it’s about a short 3km hike to the Trolltunga viewpoint. The same route can be used for the descent, making it a challenging experience throughout the day. This option is nice for people who want a full adrenaline experience and have a strong level of fitness.

2. Via Ferrata Up / Hike Down

This combination begins with the super fun ascent via the Via Ferrata from Skjeggedal, putting you up against the vertical rock faces and giving you magnificent views of the fjords. Once you reach Trolltunga, the return journey is done by hiking down the traditional hiking path. This path is less intense than the Via Ferrata and meanders through the beautiful Norweigan landscapes, offering a different perspective of the area’s natural beauty. This option will give you an adventurous climb up with a more relaxing and less technically demanding descent.

3. Hike Up / Via Ferrata Down

For those who prefer starting with a traditional hike, this route is ascending the hiking trail from Skjeggedal to Trolltunga. This route allows you to gradually take in the surroundings at a less strenuous pace. After spending time at Trolltunga, you descend using the Via Ferrata, adding an element of adventure to the journey back. This option is great for those who want to warm up with a hike and end with a heart-racing descent.

4. Hike Up / Hike Down

The hiking route both ways is the most traditional method and suitable for those who prefer a steady, less technical challenge. The initial ascent covers approximately 4 kilometers. This section gains about 400 meters in elevation, which is a considerable climb, especially when carrying a full daypack.  The terrain is a mix of natural paths and constructed staircases, which were added to help manage erosion due to the trail’s popularity, but it offers lots of resting points. After the initial ascent, the trail opens up and is a series of simple and relaxing ups and downs throughout.

The hardest part of this hike is the beginning, which is nice. The trail has spectacular views and varies in terrain, passing through wooded areas, over streams, and along mountain edges. This option gives you a full appreciation of the natural environment at a calmer pace, which makes it accessible for those with good general fitness but perhaps less interest in the technical demands of the Via Ferrata.

Accommodations

Trolltunga Camping

Trolltunga Camping is ideally located near the starting point of the Trolltunga hike and has basic facilities such as tent pitches and some cabin options for a more comfortable stay. Situated on the outskirts of Odda, you have convenient access to supermarkets and a variety of dining options. This makes it an excellent choice for people who want to combine outdoor adventure with nearby town conveniences.

Trolltunga Hotel

Trolltunga Hotel is on the outskirts of Odda and can be a central hub if you’re planning to explore Trolltunga. The hotel has a variety of amenities, including comfortable accommodations, dining services, and organized tours to the Trolltunga trailhead and other local attractions. Being in Odda, you’ll benefit from easy access to supermarkets, restaurants, and cafes, offering a comfortable and well-serviced stay.

Tyssedal Hotel

Tyssedal Hotel is a historic establishment located close to the Trolltunga trail. The hotel offers charming accommodations with scenic views of the surrounding mountains and fjords and is a gateway to the region’s industrial heritage. Its proximity to Odda means that guests can enjoy local amenities such as supermarkets and restaurants while experiencing a piece of Norway’s cultural history. However, it isn’t as close to Odda as the other options.

Camping

Norway’s Right to Roam law (Allemannsretten) provides everyone free access to the country’s uncultivated lands for recreation and exercise. This law means you can enjoy activities like hiking, camping, and nature enjoyment on most lands, provided that the natural environment is respected, and no damage is done. It emphasizes responsible behavior, including keeping a safe distance from private homes and leaving no trace.


Best time of the year

  • Early season (Late May to Early June)
    Advantages: In the early season, the trails are less crowded, and the landscape often has some snow, which means a unique and quieter hiking experience. The temperatures are cooler, and the natural springs are filled, providing fresh water sources along the trail. Considerations: Snow and ice can still be present on the trail, particularly in shaded areas and higher altitudes, which might require additional equipment like crampons and poles. Additionally, days are longer during this time, offering more daylight for the hike.
  • July and August
    Weather: Generally, the warmest and most stable weather conditions are in July, making it the most popular month for hiking Trolltunga. Temperatures are comfortable for hiking, although it can still be quite cool at higher elevations. In August, there’s potential for rain, so you’ll want to bring rain gear. Crowds: As the peak month for tourists, expect more congestion on the trails and potentially longer waits for the iconic photo on Trolltunga. Early morning starts are best to avoid the largest crowds.
  • Late season (September to October)
    Advantages: Like the early season, the late season sees fewer tourists, which means shorter or no wait times for taking photos at the famous Trolltunga Rock. The autumn colors are a beautiful backdrop for photographs, and the cooler temperatures can make for a more comfortable hike. Considerations: Weather conditions can be more unpredictable, with higher chances of rain and early snowfall as the season progresses. Daylight hours are also shorter, so starting early is crucial to ensure a safe return before dark.

Safety & Gear

Carry essential hiking gear, including navigation tools, sufficient water, snacks, a first-aid kit, and appropriate clothing for changes in weather. If camping, be sure you have a warm tent, sleeping bag, and cooking equipment suited for the conditions. You will be on a mountain ridge where the weather rapidly changes so be prepared for anything (there can be snow in mid-June sometimes).

Be mindful of the daylight hours available during your visit. In the peak of summer, Norway experiences very long days, which can provide up to 16-18 hours of daylight, while in late summer and early fall, the days can be much shorter.

Weather conditions in the mountains can change rapidly and dramatically, affecting the safety of the Via Ferrata routes. It is crucial to check the local weather forecast before setting out and to be prepared to alter plans if necessary. Fog, rain, and sudden temperature drops can make the metal steps and cables slippery and more dangerous to navigate. High winds can also significantly increase the risk. In case of bad weather, it is strongly advised to avoid the Via Ferrata due to increased risks of slips, falls, and other accidents. This applies more so for the Via Ferrata but is very much applicable for the hike as well.

Via Ferrata specific:  

When undertaking the Via Ferrata at Trolltunga, especially if doing it solo, having the correct equipment is required for safety. If you don’t have your own Via Ferrata gear, check for rental options in Tyssedal or Skjeggedal before starting.

  • Climbing harnesses and helmets are mandatory.
  • Via Ferrata lanyard with energy absorbers to safely connect the harness to the steel cable.
  • Gloves (not necessary, but they help) specifically designed for Via Ferrata and are used to protect your hands and improve grip.
  • Appropriate footwear (hiking boots or shoes with good grip and ankle support) to handle the rugged and slippery terrain.
  • Weather-appropriate clothing, including waterproof and windproof layers, as well as additional warm clothing to adapt to changing conditions.
  • Headlamp in case your return is delayed and you find yourself on the trail after dark.
  • Navigation tools like a map and compass or GPS device, as mobile signals can be unreliable in mountainous areas.
  • First aid kit and a whistle for emergencies.

Good to know

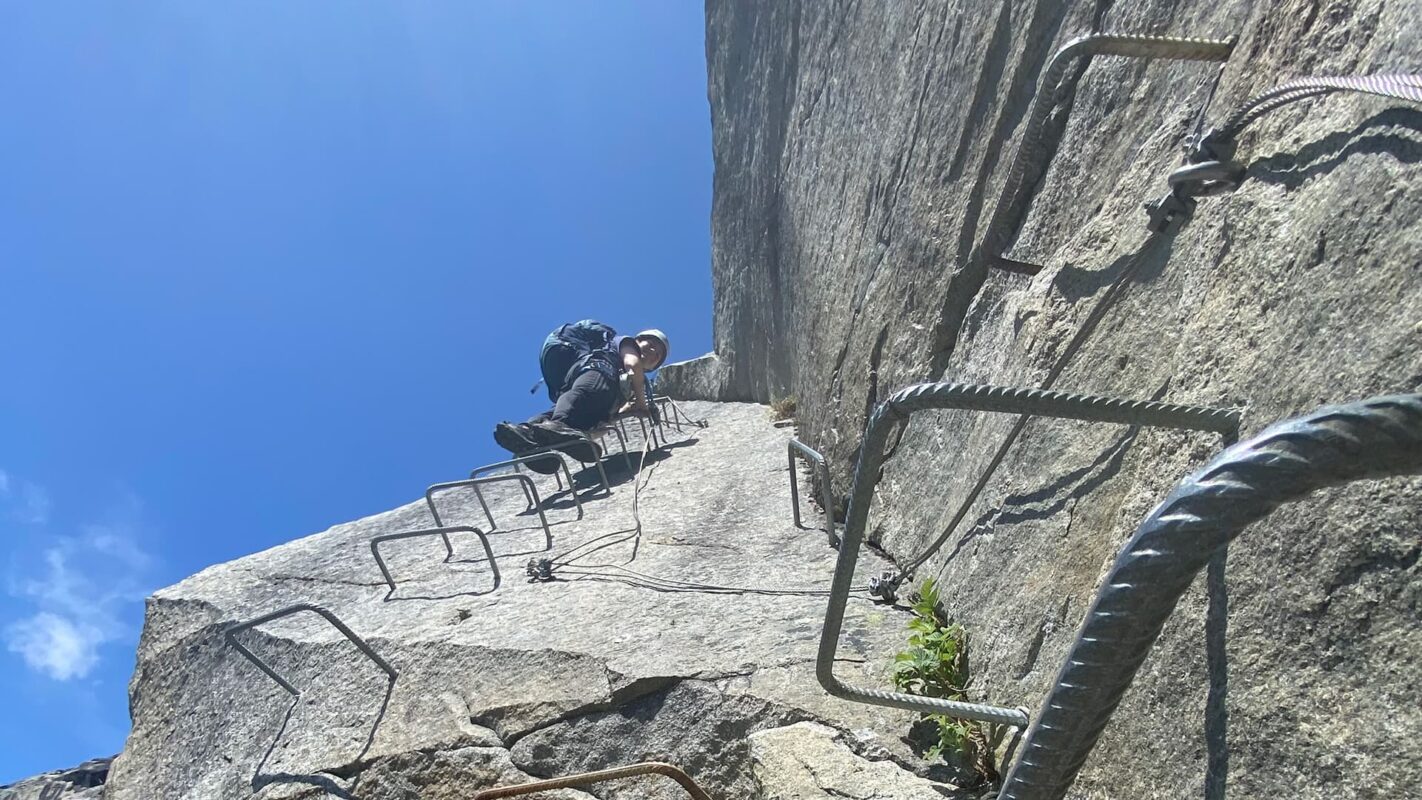
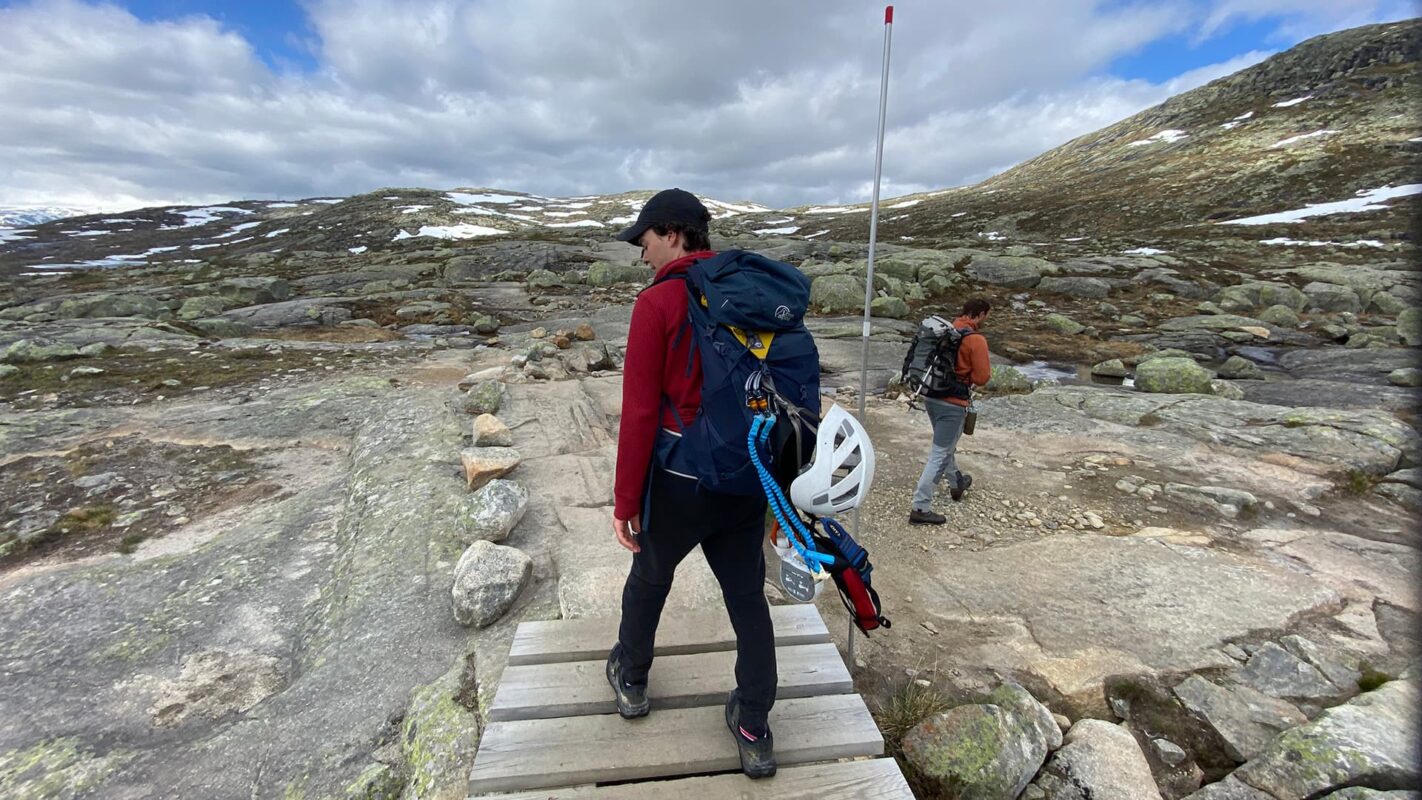
Timing and traffic management 

The Via Ferrata routes to and from Trolltunga operate on a timed schedule to manage the flow of climbers and ensure safety, as there is only one line:

  • Climb up time: 10:00 AM to 2:00 PM – This window is strictly for ascending the Via Ferrata. Starting your climb within this time frame ensures that you reach Trolltunga before the designated time for descending begins, allowing for a smooth flow of traffic on the route.
  • Climb down time: 3:00 PM and later – Descending the Via Ferrata should only be initiated after 3:00 PM. This policy helps prevent congestion on the single-line system and minimizes the risk of accidents caused by two-way traffic on the narrow routes.

These time slots are designed to provide the safest and most enjoyable experience for all users of the Via Ferrata. Adhering to these times is crucial, especially during the peak season when the route can become quite busy.
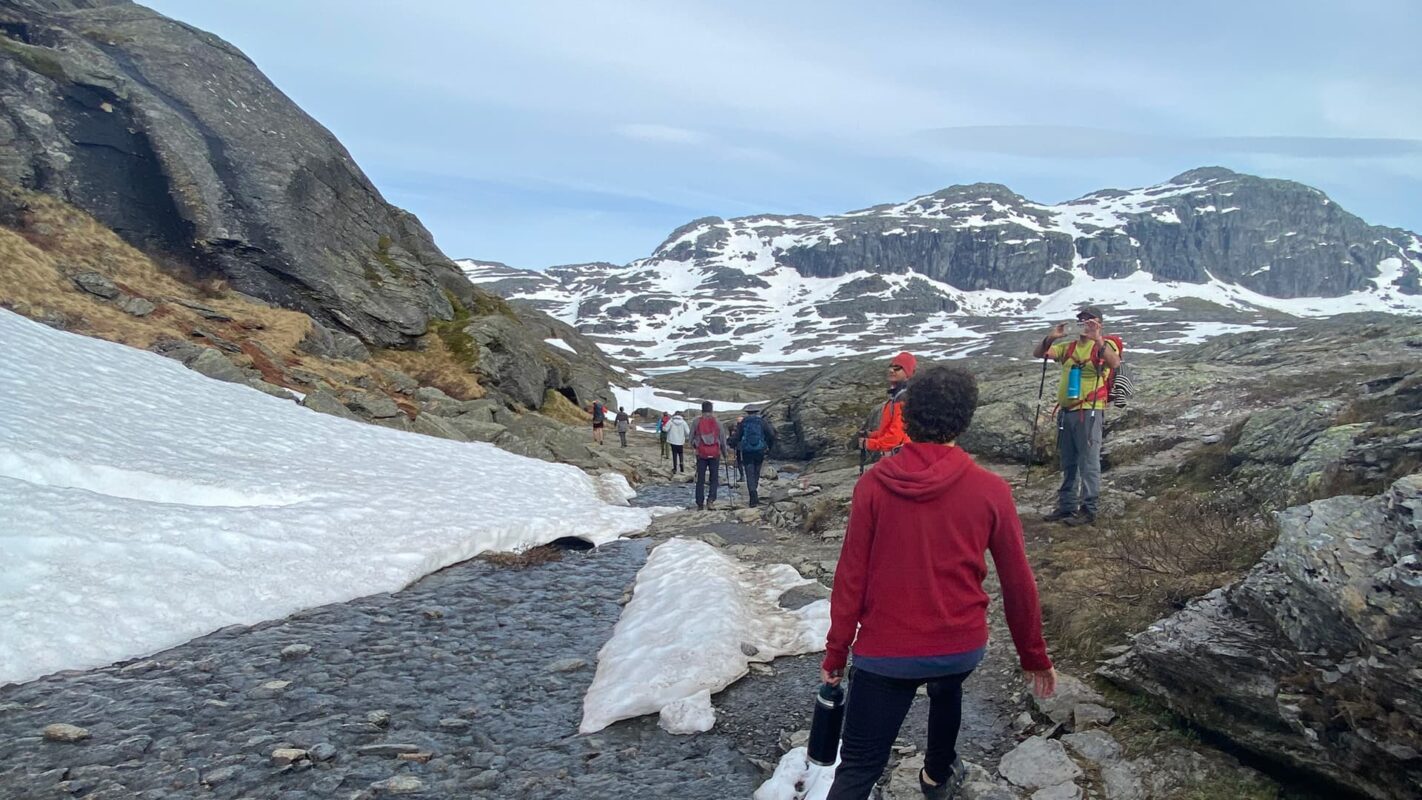
Peak season crowds

During the peak season (June to August), it’s possible to wait up to three hours for a chance to take a photo on Trolltunga due to the high volume of visitors. Avoid holidays and weekends if you can.

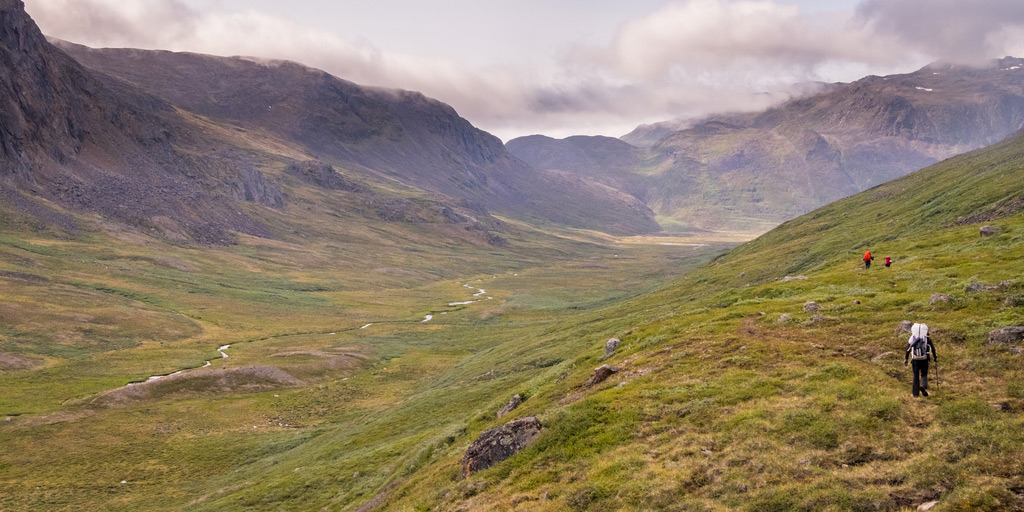
Recommendations for water on the hike 

Given the length and challenge of the hike to Trolltunga, it is recommended to carry at least 2-3 liters of water per person. If you plan to refill your water bottles along the trail, do so at higher altitudes where the likelihood of water being contaminated by human activity is lower. Early in the hike, there are more opportunities to fill up near the streams close to the trail. Make sure to assess the water flow and clarity before refilling.

Tips for getting there  

Parking at P2: Start by parking your vehicle at the P2 parking lot, located in Skjeggedal. This area serves as an overflow parking when P1 is full and for those who prefer a less crowded starting point.

Shuttle service to Tyssedal (P1): From Skjeggedal (P2), you can take advantage of the shuttle bus service that transports people to Skjeggedal (P2). This shuttle typically runs during the high season and its schedule is designed to align with peak hiking times. Check the local schedules in advance as they can vary by season.

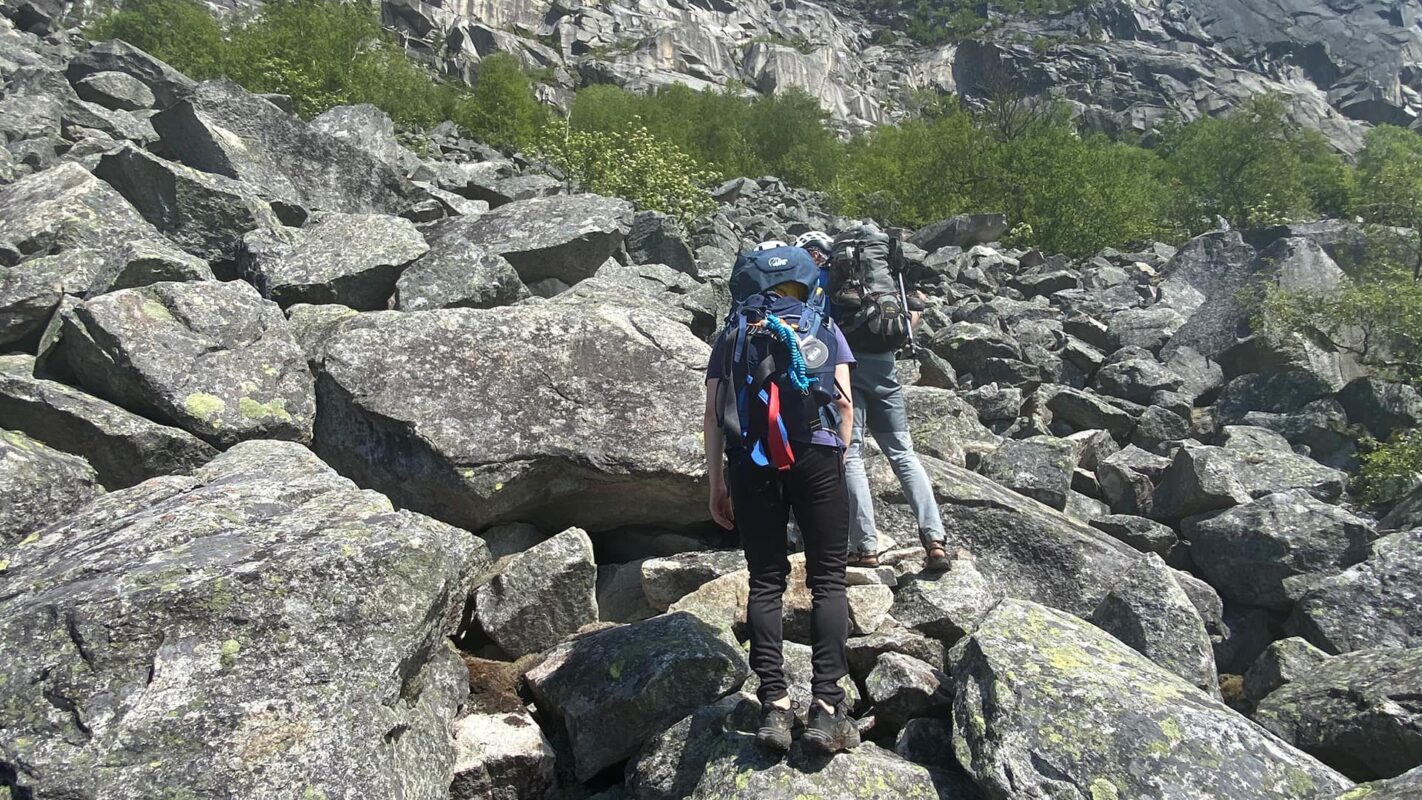
Starting the hike: Once at Skjeggedal, you have two main options to reach the Via Ferrata start point:

  • Via Ferrata direct: If you intend to use the Via Ferrata to ascend, begin directly from Skjeggedal. The start of the Via Ferrata is well-marked and generally starts with a hike through the initial part of the main trail.
  • Hiking to Mågelitopp (P3): Alternatively, some choose to hike to Mågelitopp (P3), where the hike to Trolltunga is shorter. This is an option if you’re looking to cut down the walking distance but still want the Via Ferrata experience. From Mågelitopp, you can catch the Via Ferrata partway.

For hiking:
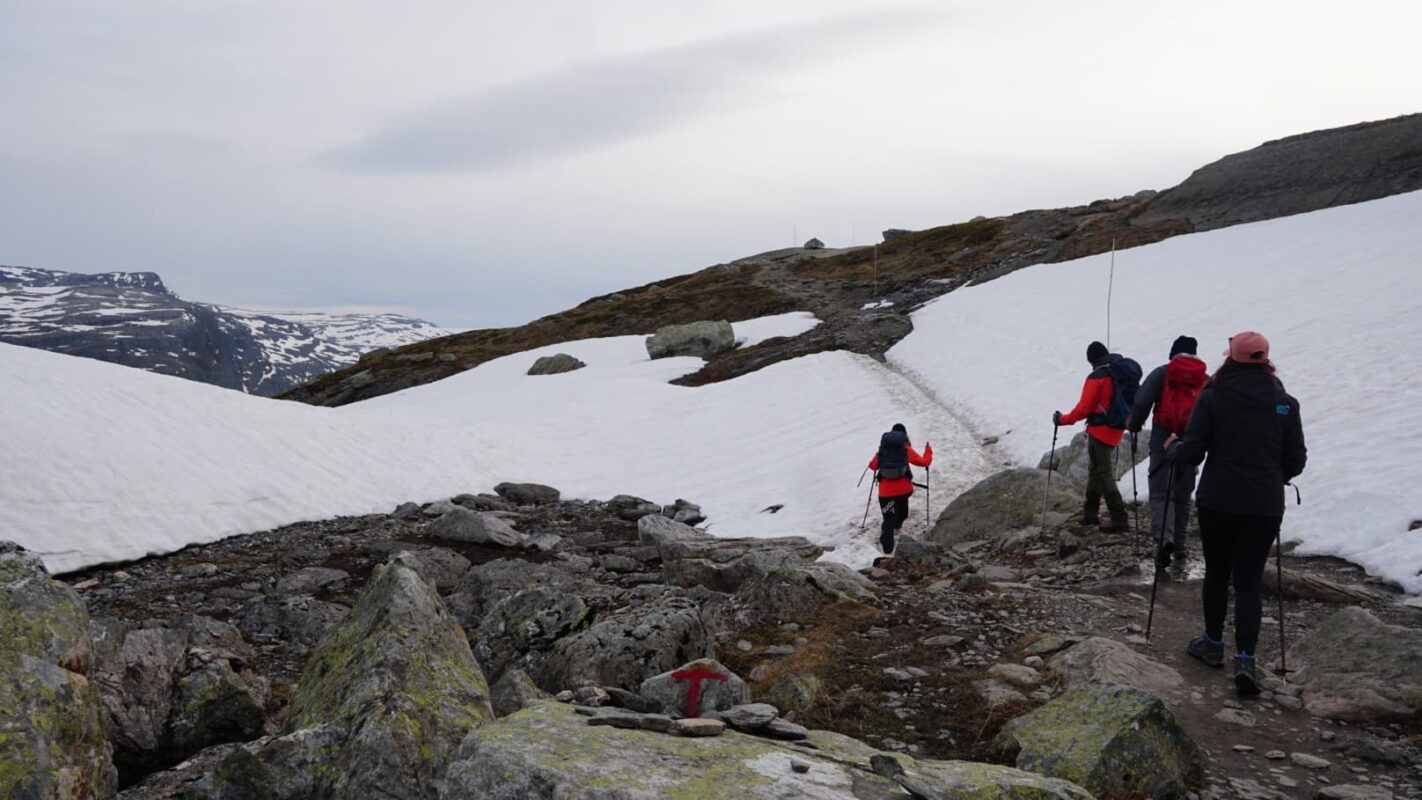
If you start from the P2 parking in Skjeggedal, you should allow 8–12 hours for the 28-km round-trip hike to Trolltunga. You can also start from P3 Mågelitopp, allowing 7–10 hours for the 20-km round-trip hike. There are shuttle buses between Odda, P1 Tyssedal and P2 Skjeggedal.

For a one-day hike:

It’s highly recommended to start very early in the morning if you’re planning to complete the hike in a single day. Starting by 5:00 AM or 6:00 AM is ideal, especially during the longer daylight hours of the summer months. This early start means that you have enough daylight to complete the approximately 10-12 hour hike (round trip) and return safely.

Check the sunrise time for your specific date, and plan to start your hike around or shortly after this time. This helps maximize your use of natural light and provides extra time for breaks, slower pacing, or any unexpected delays.

For an overnight trip:

If you’re planning to camp overnight near Trolltunga (note that camping is only permitted at specific sites to minimize environmental impact), you can start a bit later in the day. Starting by 8:00 AM or 9:00 AM might be sufficient.

Confirm you have a designated camping spot or know where the permissible camping areas are. Setting up camp before it gets dark is crucial, so plan your hiking speed and breaks accordingly.

Route
Point to point
Highest point
1217m (3992 ft)

Want to submit a trail or make this page more complete?

Comments

Be the first one to comment on this trail!

Reply to this trail

Your email address will not be published. Required fields are marked *

Reply to this trail

Log in to comment on this trail
Always read the disclaimer

Terms of Use: important to all visitors on this website. We strive to publish high quality content and information on this website. However it’s always possible that we’re missing out on some crucial information. In spite of the fact that this route, associated GPS track (GPX and maps) were prepared under diligent research by the specified contributor and/or contributors, the accuracy of such and judgement of the author is not guaranteed. Therefore, hiking-trails.com and contributors are in no way liable for personal injury, damage to personal property, or any other such situation that might happen to individuals hiking or following this route. Should you choose to hike this trail, this is always at your own risk. Check out our guidelines for safety hiking and Leave No Trace principles at the hiking 101 page.

Download GPX

Join the community!

Login or create a FREE account 😊

With an account you can:

Download GPX files

Pin trails to your wishlist

Mark trails as hiked by you

Rate hiking trails

Comment on trails, blogs and gear reviews

Happy trails!
Login

Don't have an account yet? Register here