About the Madeira Crossing

country
Portugal
length
101 km(63 mi)
Type of trail
Long-distance, Thru-hike
difficulty

Difficulty is highly personal. Be aware of the weather conditions as bad weather turns easier trails in difficult trails especially in the mountains.

Difficult
accommodation

Lodging means a mix of hotels, hostels or AirBnB’s.

Camping, Lodging
Elevation gain
4530 m(14862 ft)
terrain
Mountains, Coastal, Forest
remoteness
Some of the time
Show more

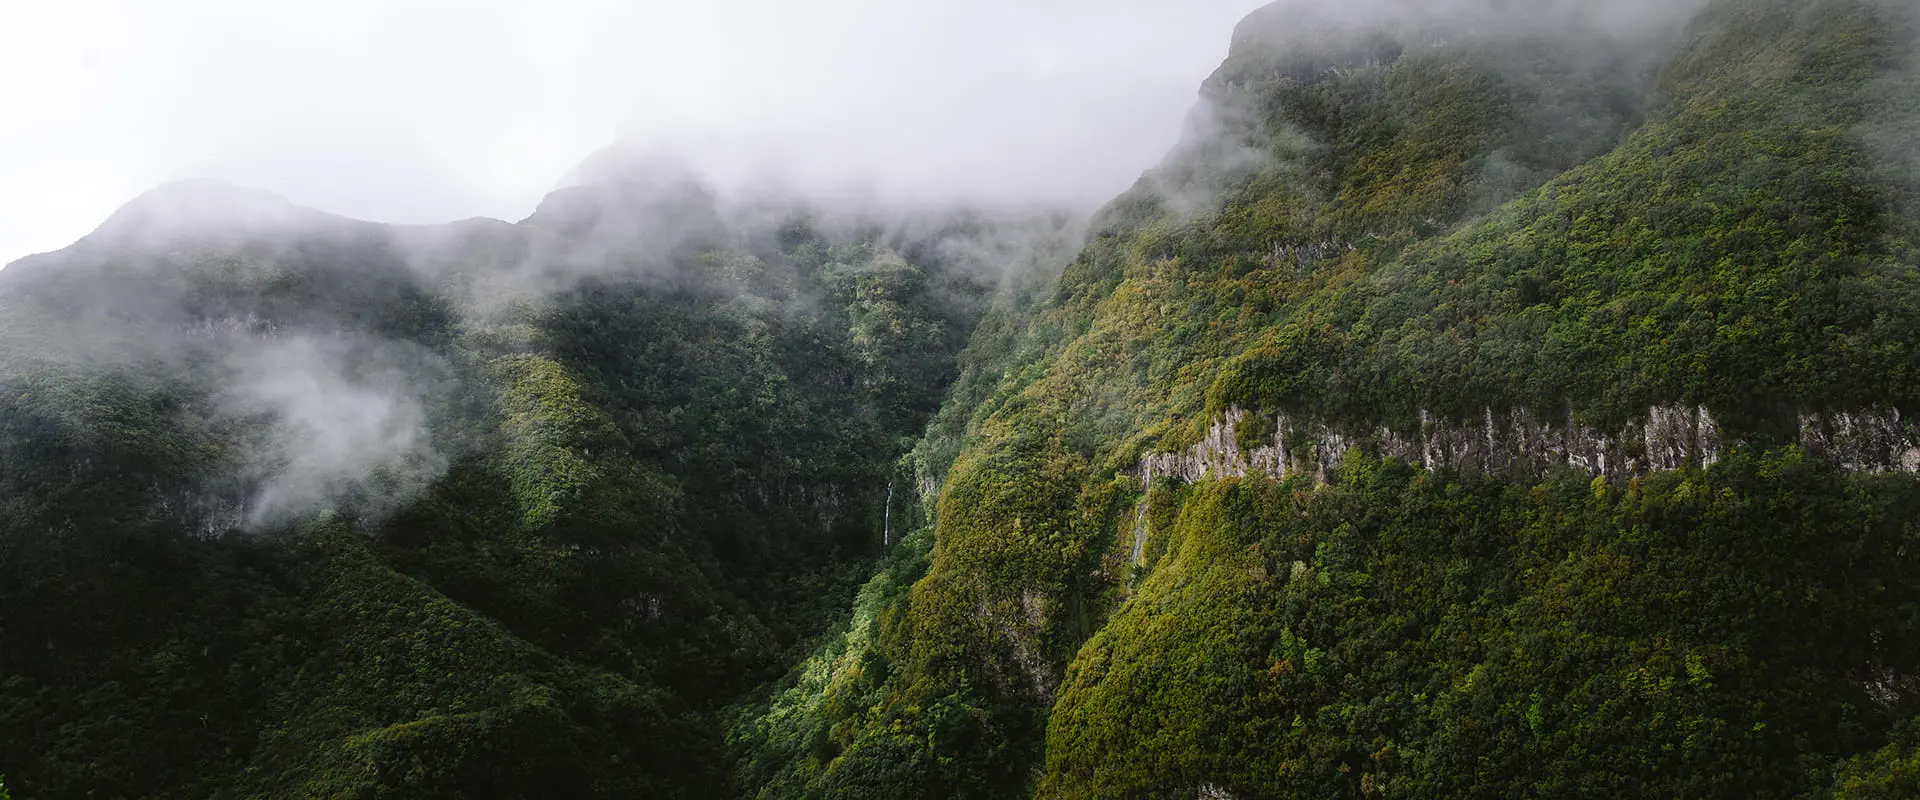
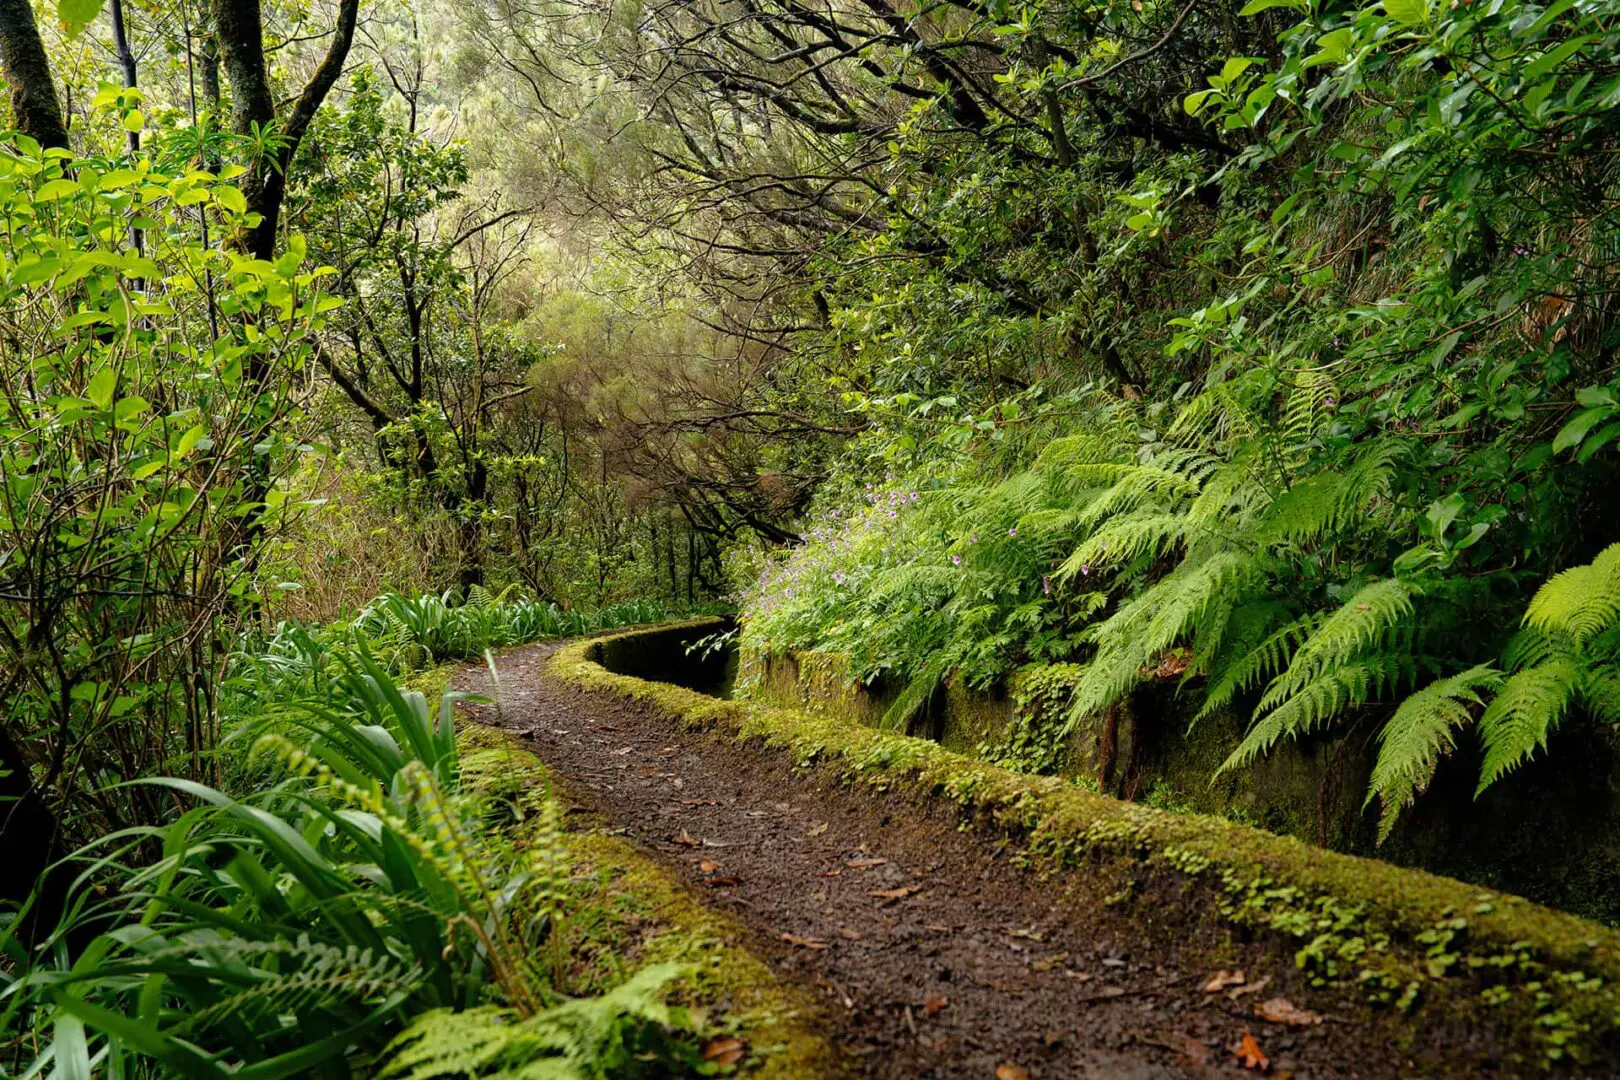
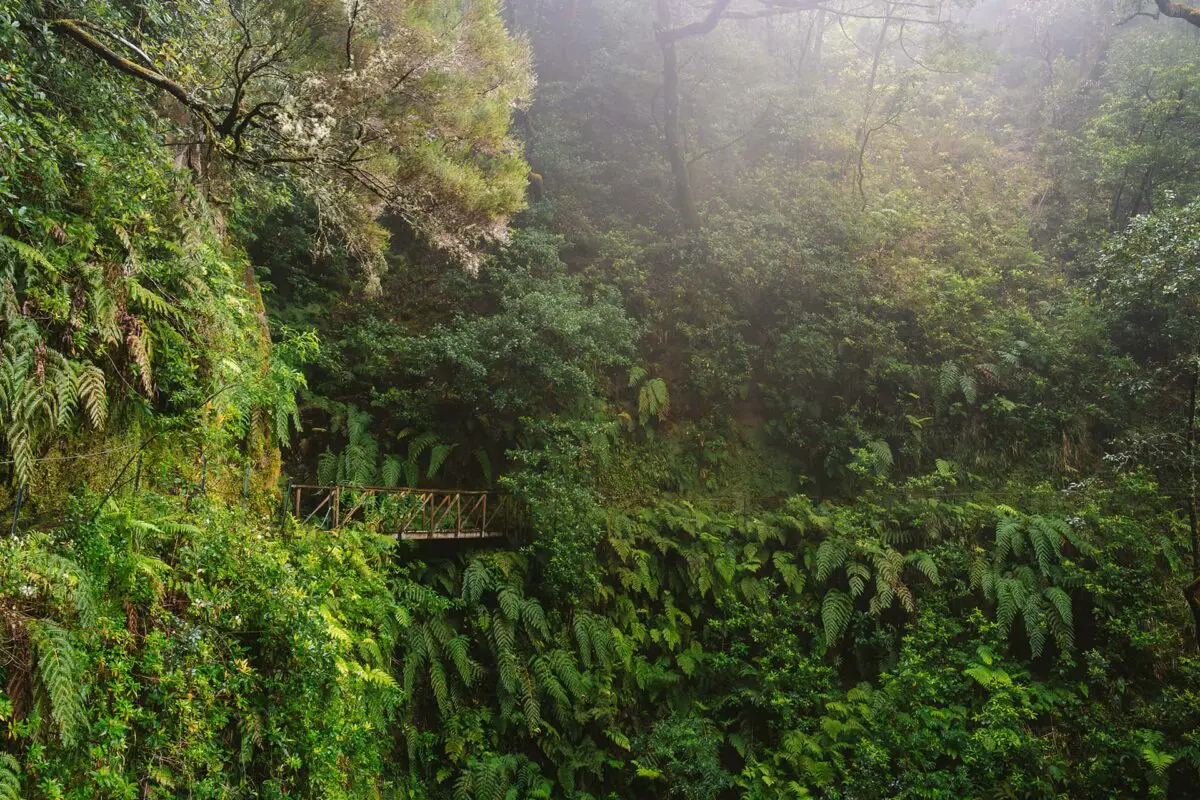
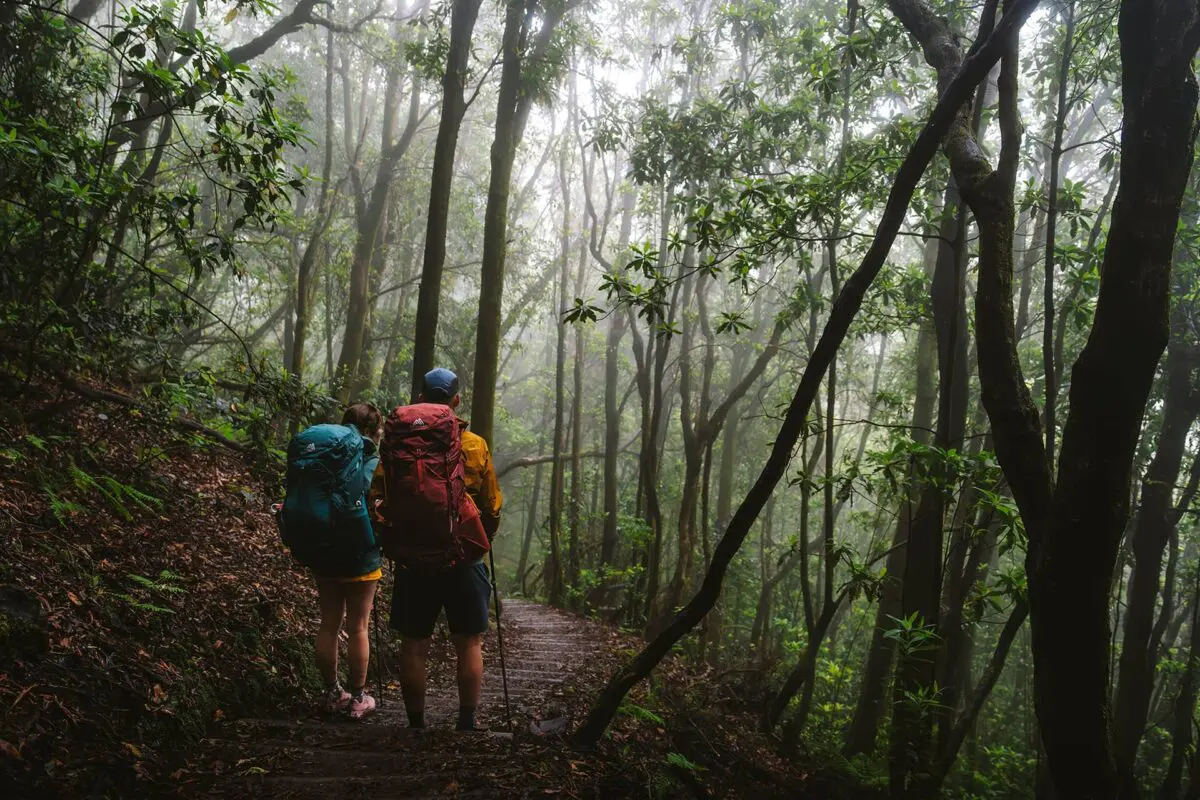
The Madeira Crossing is a beautiful trail that goes across the entirety of Madeira Island in 101 kilometers. It takes you from the coast, through moody subtropical forests, along ancient levadas, up to viewpoints, along cliffs next to the ocean, and back down to the coast in an epic week-long trek and thru-hike.

This hike is fairly new, as it is adapted from the popular Madeira Island Ultra Trail (MIUT), an ultramarathon that is put on annually. However, the Madeira Crossing stays high, with fewer descents, while the Ultra plunges runners back down into the valley after each summit. You’ll still hit all of the best points of the MIUT, without killing your knees in the process. Of course, this is still a very challenging trail, so you’ll need to prepare adequately!

women in blue smiling at camera
Editor

Katie Mitchell

After a whirlwind of 8 years on the road (and trail!), Katie has hiked the Camino Frances, the Peaks of the Balkans, the Fisherman’s Trail, and extensively in the United States. She is an avid trail runner and now lives in Colorado where she plays in the mountains in her free time. You can follow her adventures on Instagram.

View profile

The Trail

Madeira is a perfect choice for a winter or spring hike when you’re itching to get out on the trails but there’s still too much snow in the Alps. It is temperate and rarely drops below 10 degrees Celcius at any point in the year, and is only a 1.5-hour flight from Lisbon. The island is actually closer to the coast of Morocco than Europe, although it maintains its Portuguese heritage in language and culture.

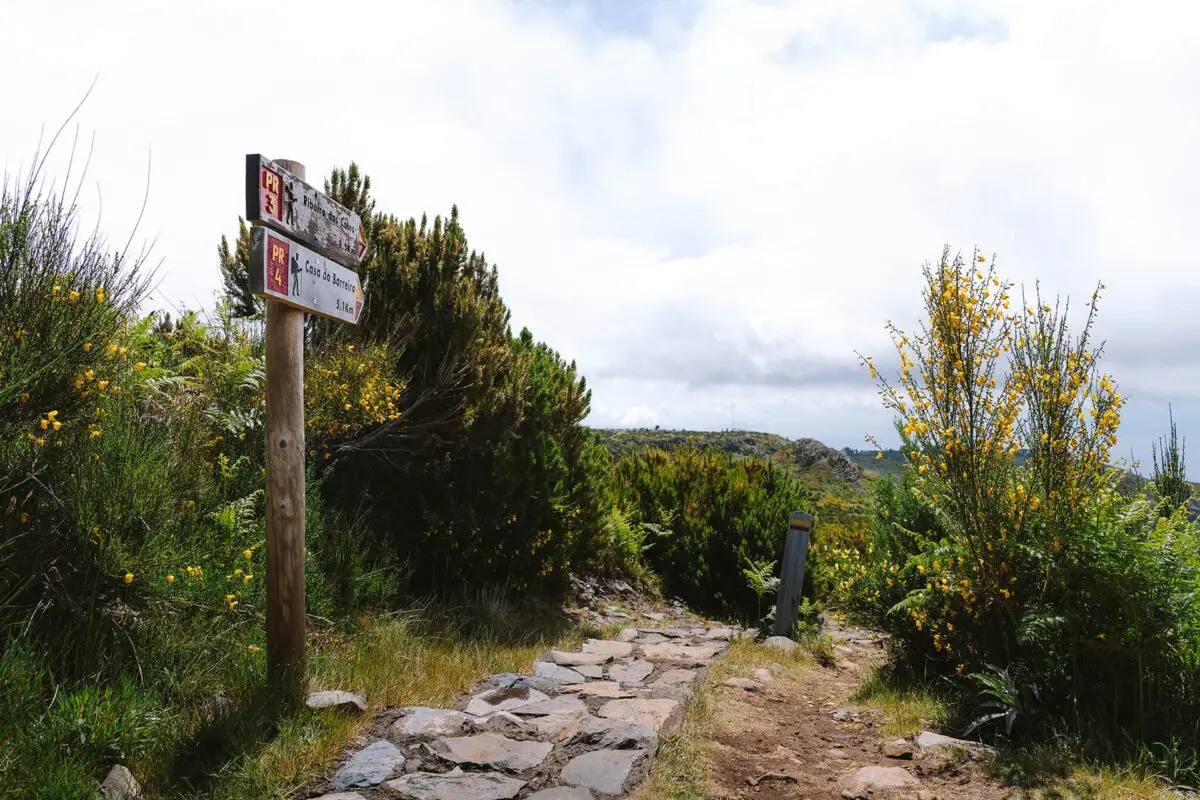
You’ll begin the trek in Porto Moniz or Ribeira da Janela next to it and have a few options. You can start the trail from town, taking you up a steep ascent on the road to the trailhead. If you want to skip this and begin on dirt, you can take a taxi for about 10 euros to the starting point of the trail PR14, skipping only the first 2 kilometers. Once you’re on the trail, the first day will be in the forest and along levadas. You’ll likely see only a few other people who are there for day hikes and will likely be alone for the majority of the stage. This area is quite subtropical, so you’ll find that it’s humid but not too sticky, and the views will impress even the most frequent island hiker. That night, you’ll camp in Fanal Forest. Make always sure you get the permits for the camping spots and reserve these far in advance because there are very limited spots.

On stage 2, you’ll hike to Estanquinhos, where you’ll rise out of the forest and levadas to hike more on plateaus near the end. You’ll pass some incredible waterfalls and pass by Rabacal, a restaurant and boutique hotel. Around this area, it will get quite busy since people can drive to this spot, but have patience. The crowds will dissipate once you leave Rabacal and you’ll be back to solitude. You’ll also need a permit for the Estanquinhos campground. These are also quite limited, but there are a few more spaces than Fanal.

On stage 3, you’ll go through some of the famous Madeira tunnels on your way to Encumeada. These are over a kilometer long and were built originally for the levadas to go through the mountain. That means that you’ll be walking on a narrow path next to them, so make sure your pack doesn’t have much hanging off the sides! Note that you will need a headlamp for these tunnels. This day also has a lot of descent, so be prepared. Take it slow and you’ll be okay because when you climb again, you’ll see the most amazing ridge views. This stage ends at the Encumeada Valley View Hotel where you can enjoy a shower after two nights of camping.

The 4th stage to Pico Ruivo is some serious climbing. You’ll ascend about 1400m as you climb almost to the top of this famous peak. You’ll likely want to save the actual summit for sunrise the next morning (when it’s the most magical), so you can go straight to your campsite or the mountain hut when you get there, depending on where you booked. They’re both extremely close to the peak, so you won’t be going out of your way for either of them.

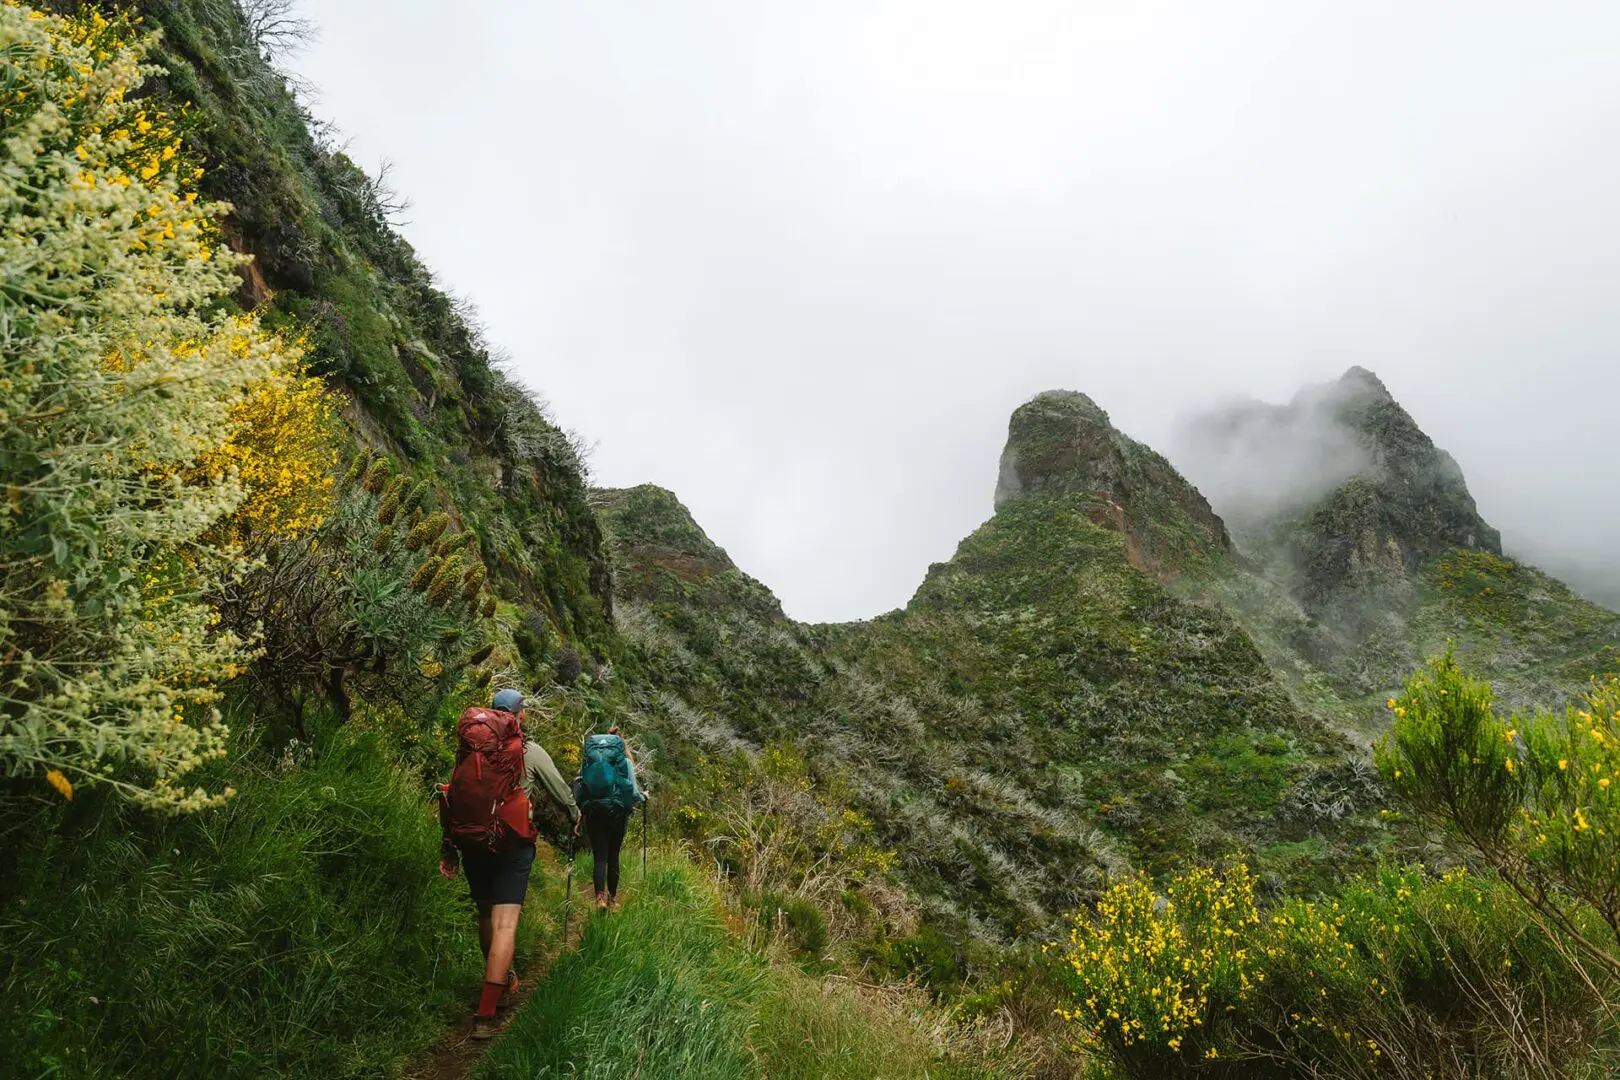
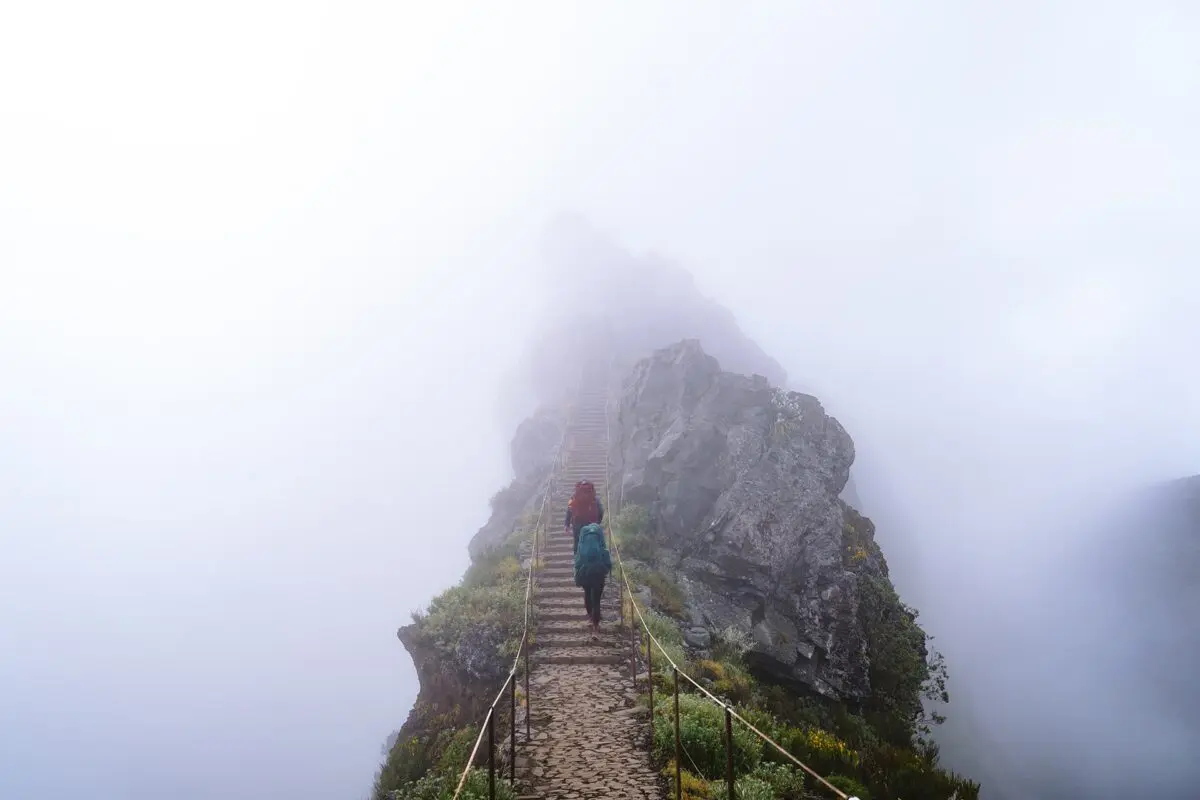
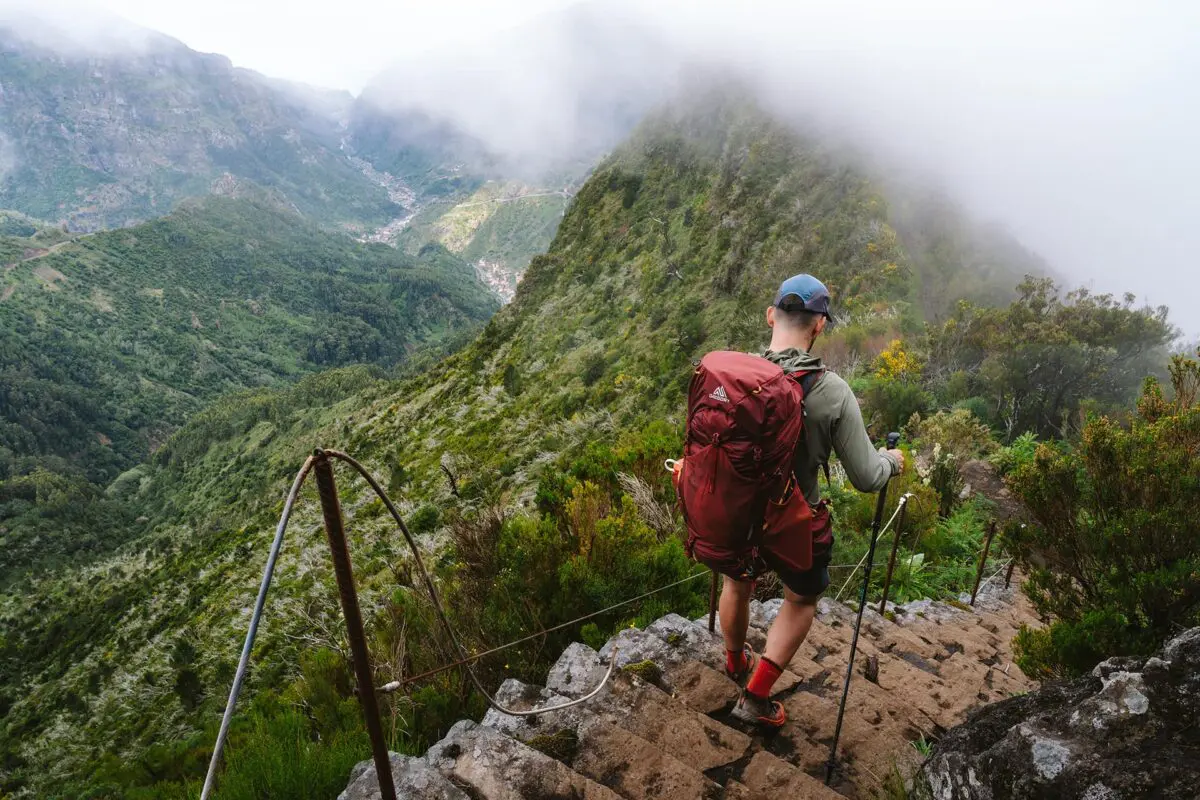
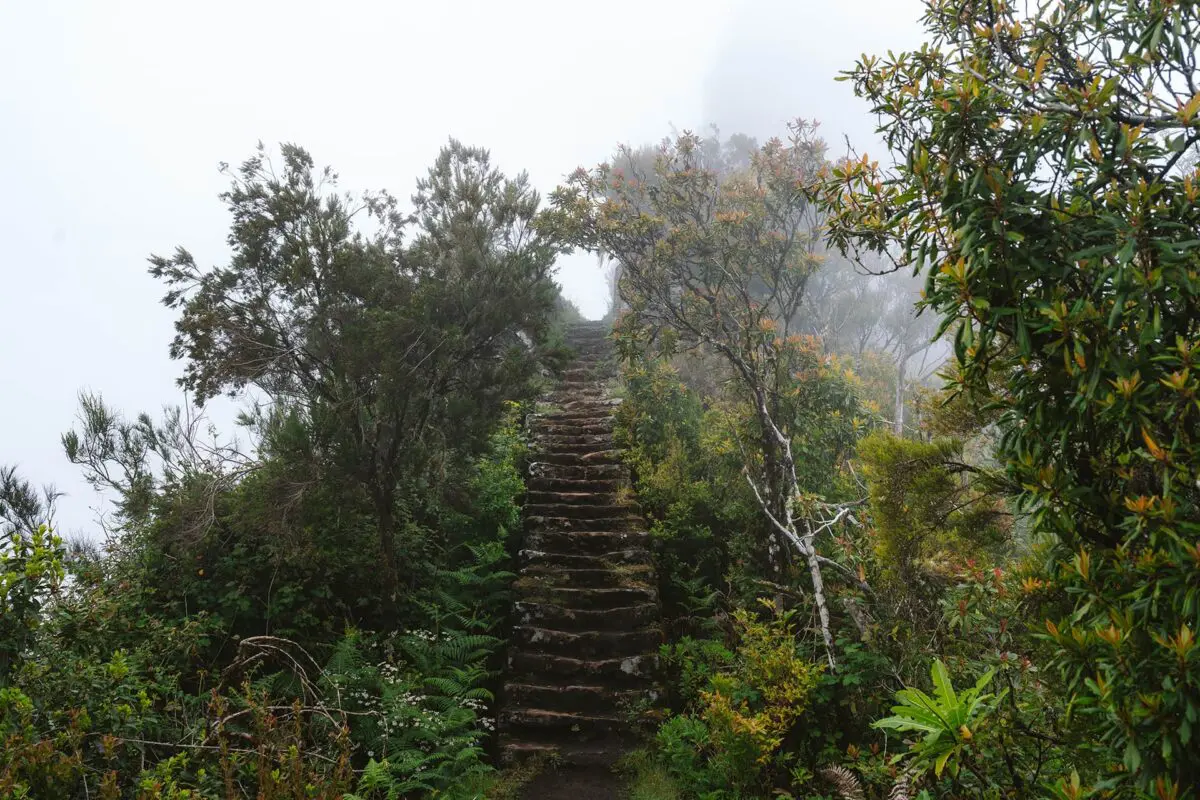
The 5th stage is arguably the most famous hike on the island. This is the PR1 between Pico Ruivo and Pico Areiro. Many people do this as a day hike, so be ready to be patient and greet people from all around the world, especially in the high season from May through September. You’ll want to start early to pop up to Pico Ruivo for sunrise, then you’ll head down and start walking to Pico Areiro. The PR1 is about a 6-kilometer section against the cliffs, where you’ll end up in a line of people climbing stairs and ladders to go between the two peaks. However, don’t be discouraged. While there will be an influx of people, it’s for good reason. This section is beautiful, with clear views of the island and valleys below for almost the entire 6 kilometers.

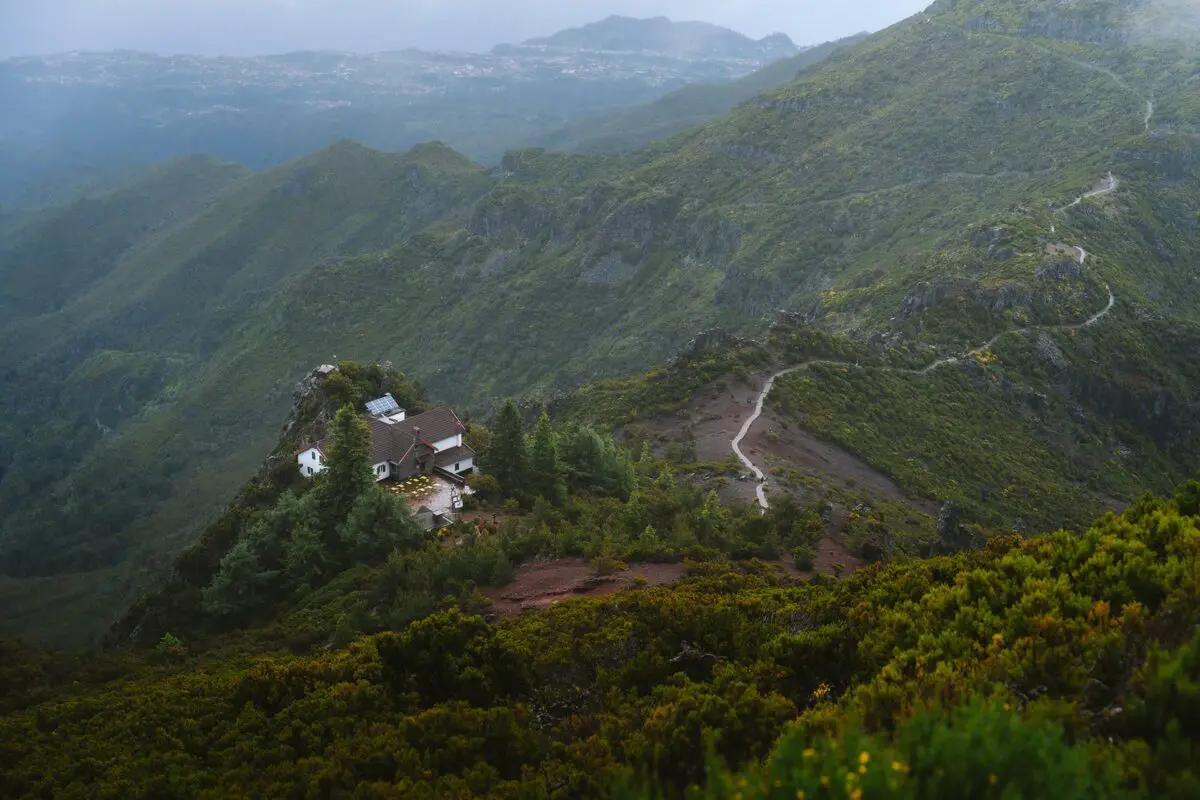
When you get to the top of Pico Areiro, there’s a restaurant and cafe next to a road, where most folks will take a bus or taxi back down. That means that the trail will be clear (we saw no one) from here to Ribeiro Frio, where you’ll sleep that night. There are quite a few restaurants near the campsite, so there are a lot of amenities available to you there. But the nice thing is the campsite is far enough from the village that you should only hear the sound of the waterfall as you sleep, no cars. You also could book a hotel here if you prefer instead of camping.

Finally, stage 6 will take you to Machico, the end of the hike. This is a long day, so get up early, have a big breakfast, and get moving! You’ll descend a lot on this stage but will have one of the nicest stretches of the trail as well. As you near Machico, you’ll begin to walk along a cliff, with the ocean to your right, for about 10 kilometers. Talk about a dream! You’ll see the waves crashing below you and have a few spots to stop for a break to soak in the views. The path is wide enough for groups to pass each other, so it shouldn’t be a problem for people with a mild fear of heights.

Finally, you’ll arrive at Machico and end the trail at the beach to end your Madeira Crossing and you’ve thru-hiked the island. From here, you can take a bus to wherever you’d like to sleep that night. Machico has some lovely options by the water, or you can go back to Funchal on a 45-minute public bus if you prefer the larger city at the end of your thru-hike.

Stages

The Madeira Crossing can be divided up in many ways with quite a few campsites between the stages. This is our recommendation for a 6-day itinerary. Note that some stages look short in distance, however, they can be quite demanding and you’ll make fewer kilometers than normal because of the stairs and elevation gain.

6-Stage Itinerary

Stage 1:

Ribeira da Janela – Fanal, 15 km | 9.3 mi

Stage 2:

Fanal – Estanquinhos, 21 km | 13 mi

Stage 3:

Estanquinhos – Encumeada, 10.5 km | 6.5 mi

Stage 4:

Encumeada – Pico Ruivo, 13 km | 8 mi

Stage 5:

Pico Ruivo – Ribeiro Frio, 15 km | 9.3 mi

Stage 6:

Ribeiro Frio – Machico, 28 km | 17 mi

Accommodations

The trail is a bit tricky with accommodations because there are a few official campsites you can book, but they have very limited space (some only have 3 permits!) so many people wild camp. However, wild camping is illegal, so please follow leave no trace principles! Arrive late and start early, if you must. If you want to stay in accommodations every night, you can easily arrange taxis to, for example, Fanal or Estanquinhos.

Recommended accommodations

Stage 1:

Fanal Forest Camping (You can arrange a taxi here to/from the closest town, it’s a small island)

Stage 2:

Estanquinhos campsite (You can arrange a taxi here to/from the closest town, it’s a small island)

Stage 5:

Ribeiro Frio camping (You can also book lodging here)

Best time of the year

You can hike this trail all year round. You’ll find that there will be wetter months (late spring) and drier months, but it’s never too cold, and the trails are open year-round.

There are also microclimates throughout the island, so you’ll pass through fluctuating weather patterns as you ascend and descend. Even if you come in the summer dry months, it’s smart to bring rain gear!

Safety & Gear

You’ll want to prepare for the trail ahead of time by downloading the GPX and packing the necessary camp gear. However, it is difficult to get lost on this trail, as you spend the majority of the time following levadas, which are single-track along the cliffs.

As always, share your itinerary with someone you trust and let them know if your plans change. The weather in the late spring can be a bit tricky with the fog, so if you need to wait it out, absolutely wait until you have clearer visibility.

Good to know

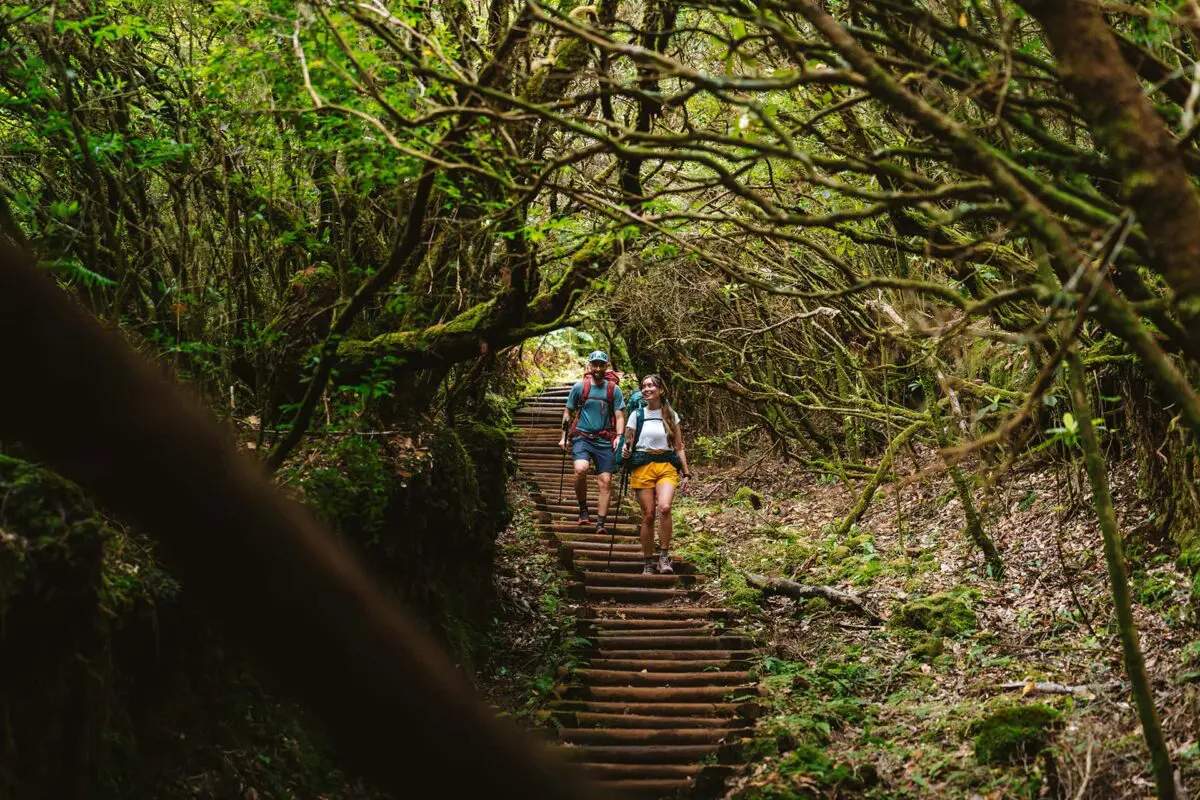
The stairs in Madeira can be quite taxing, so bring poles! This trail cuts out a lot of the downhill of Ultra Trail, but you will still spend a fair amount of time descending some steep steps. So, take care of your knees and have a break when you need it.

There is plenty of water along the trail. You can either fill up at cafes and restaurants along the way or bring a filter for the many rivers and waterfalls you’ll pass.

If you’re camping, it’s important to register for the permits on the official website. Do this far in advance because Madeira is a popular destination among long-distance hikers.

Permits

You need permits for all of the official camping spots on Madeira Island. You can register for the permits on the official website. You’ll need to register for an account, and then scroll down on the permits page to “See Availability,” where you’ll be able to begin the process of booking each of the sites. The permits are free, so that won’t be a problem, they just book up very quickly so it’s best to arrange them as soon as possible once you know the dates you’ll be hiking.

Want to submit a trail or make this page more complete?

Comments

Be the first one to comment on this trail!

Reply to this trail

Your email address will not be published. Required fields are marked *

Reply to this trail

Log in to comment on this trail
Always read the disclaimer

Terms of Use: important to all visitors on this website. We strive to publish high quality content and information on this website. However it’s always possible that we’re missing out on some crucial information. In spite of the fact that this route, associated GPS track (GPX and maps) were prepared under diligent research by the specified contributor and/or contributors, the accuracy of such and judgement of the author is not guaranteed. Therefore, hiking-trails.com and contributors are in no way liable for personal injury, damage to personal property, or any other such situation that might happen to individuals hiking or following this route. Should you choose to hike this trail, this is always at your own risk. Check out our guidelines for safety hiking and Leave No Trace principles at the hiking 101 page.

Download GPX

Join the community!

Login or create a FREE account 😊

With an account you can:

Download GPX files

Pin trails to your wishlist

Mark trails as hiked by you

Rate hiking trails

Comment on trails, blogs and gear reviews

Happy trails!
Login

Don't have an account yet? Register here