About the Machame Route – Kilimanjaro

country
Tanzania
length
62 km(39 mi)
Type of trail
Long-distance
difficulty

Difficulty is highly personal. Be aware of the weather conditions as bad weather turns easier trails in difficult trails especially in the mountains.

Moderate
accommodation

Lodging means a mix of hotels, hostels or AirBnB’s.

Camping
Elevation gain
4255 m(13960 ft)
terrain
Mountains, Forest, Hills
remoteness
None of the time
Show more

The Machame Route – Kilimanjaro, nicknamed the ‘Whiskey Route,’ stands as one of the most scenic and rewarding paths to Africa’s highest peak. This 7-day hike covers approximately 62 kilometers, starting from Machame Gate (1,640m) and winding its way to Uhuru Peak (5,895m).

Unlike the more direct Marangu Route (known as the ‘Coca-Cola Route’), Machame follows the mountaineering principle of “climb high, sleep low,” which significantly improves acclimatization. The route begins in lush rainforest before traversing through heath, moorland, and alpine desert zones.

Gavin van de Wal

Gavin van de Wal was born in the Netherlands, but his heart belongs to the mountains. From exploring the lesser-known trails in Slovakia’s Tatra Mountains to conquering Africa’s highest peak – his love for multi-day hikes has taken him across the world. In the Alps, he completed several classic hut-to-hut treks in Switzerland, enjoying the comfort of mountain refuges and pristine Alpine landscapes. Beyond Europe, he’s tackled the Salkantay Trail to Machu Picchu, Everest Base Camp in Nepal, and Patagonia’s O Circuit in Chili, always seeking new paths that combine challenging hiking with breathtaking natural environments.

View profile

The Trail

The trail starts wide and muddy, winding through dense rainforest. The path is well-trodden but can be slippery, especially after rain. Tree roots stick out here and there, so you need to watch your step. Gradually, the path narrows, with occasional breaks where you can look out over the forest below. By the time you reach Machame Camp, the trees have thinned out, and it feels cooler and quieter. Leaving the camp, the trail climbs steadily, and the dense forest quickly gives way to shorter, shrubby plants. The soil is rocky, and you’re now in the moorland zone. There are fewer trees and more open views, with Kilimanjaro’s peak starting to appear. This section is a mix of steeper climbs and flatter stretches. The path becomes increasingly rocky until you reach the wide plateau of Shira Camp.

The trail to Lava Tower is a long, slow climb over rocky terrain. The ground here is almost barren, with only sparse plants and lots of boulders. You’re at high altitude now, and the air feels thin. After Lava Tower, there’s a descent to Barranco Camp, which is set in a valley. The trail drops down quickly, with switchbacks through rocky ridges that end at a flat, open space near camp.

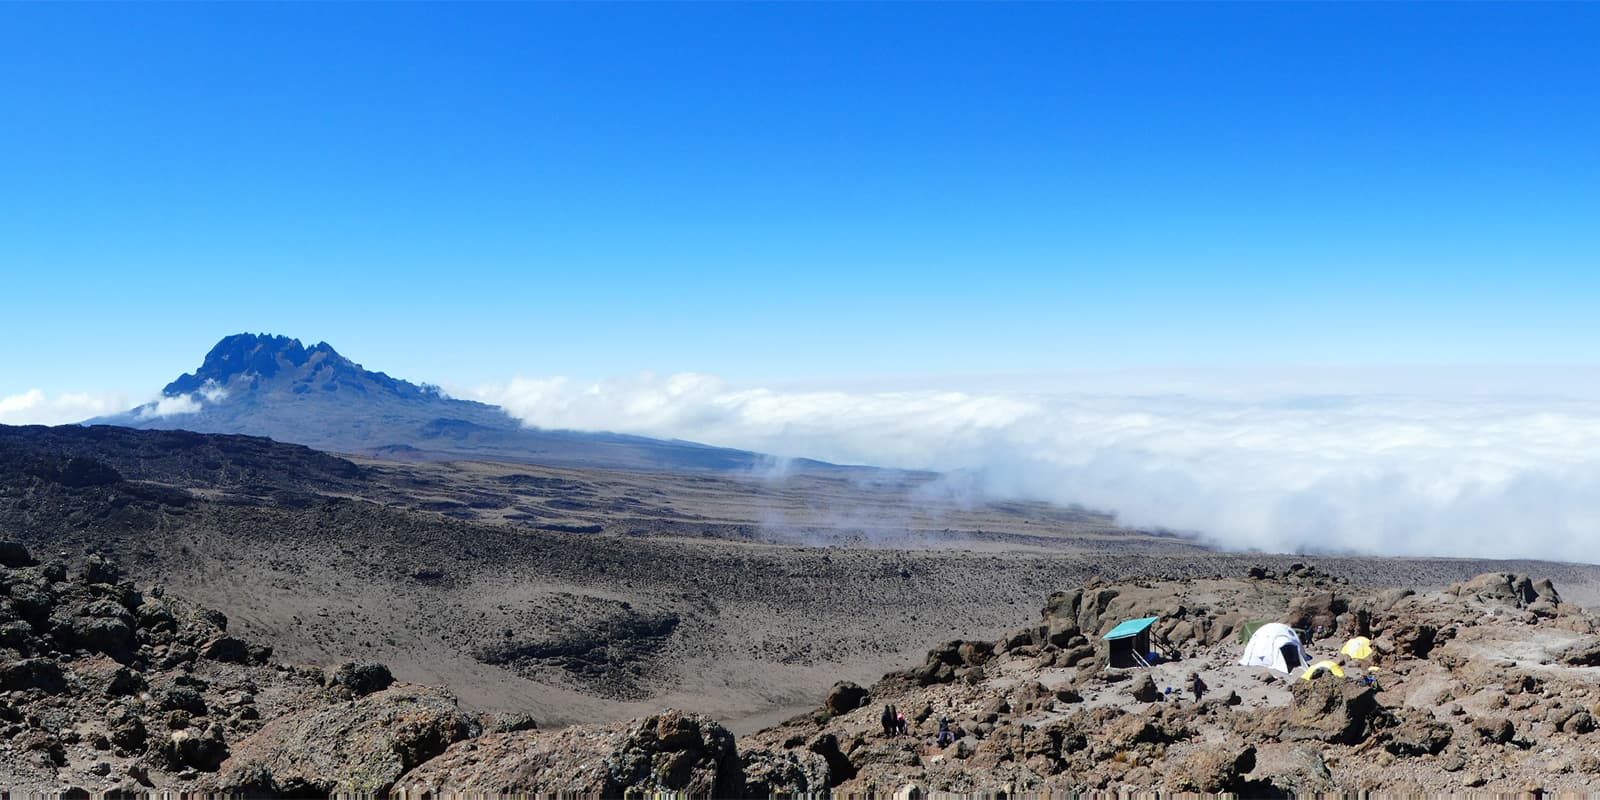
The next day starts with the Barranco Wall, a steep but manageable scramble. The wall has handholds and some narrow ledges, and although it looks intimidating, it’s easier than it seems. Once you’re over the wall, the trail flattens out with small ups and downs, offering views of valleys and glaciers. The trail to Karanga is mostly rocky, leading to a high, open camp.

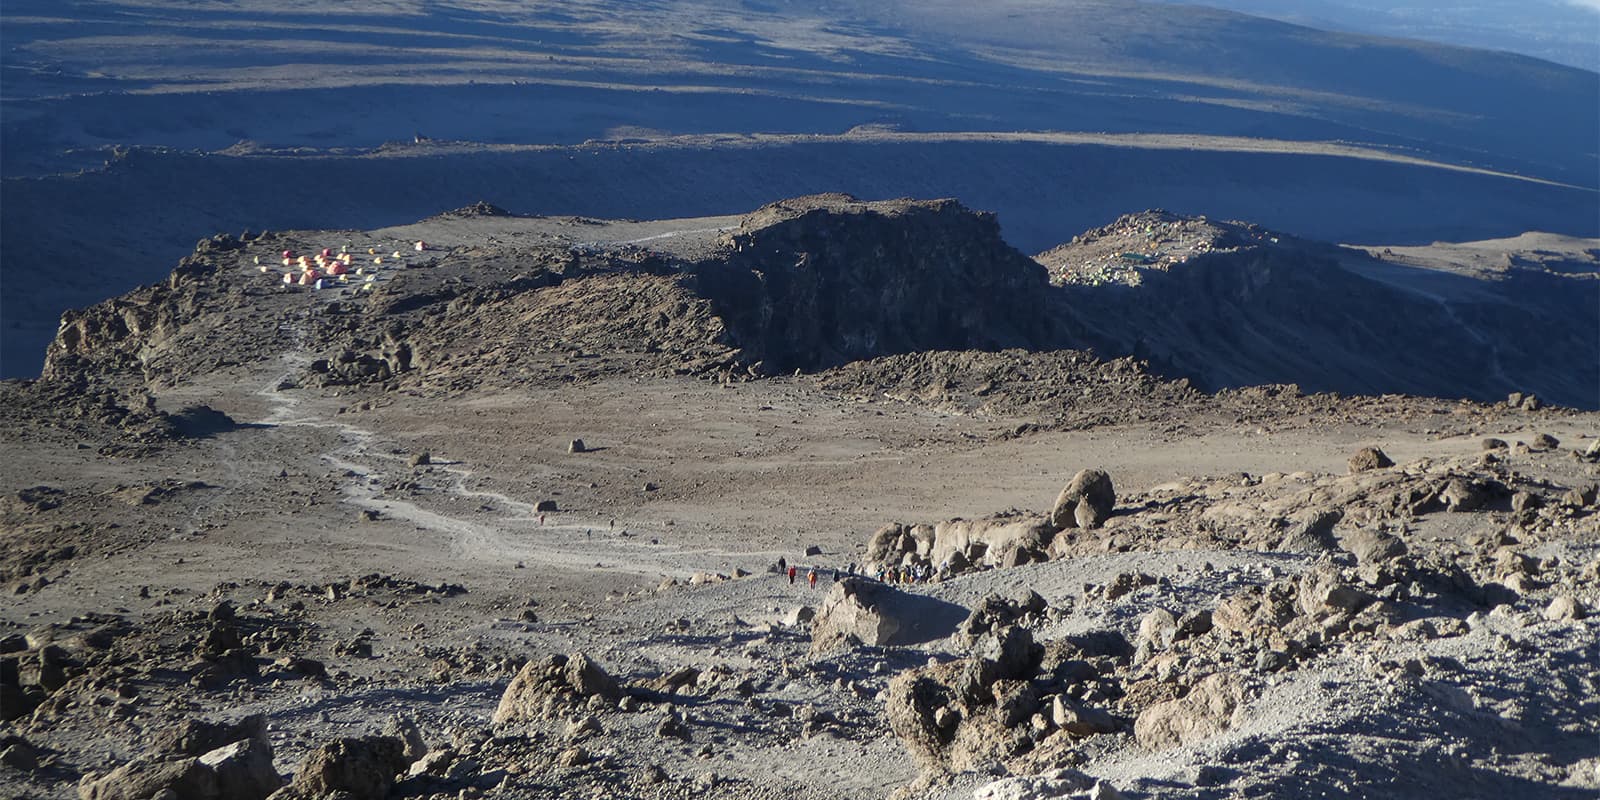
From there, the days become more sparse, with almost no vegetation. The trail is rocky and dusty, with little shade. You’ll continue the steady climb that can potentially tiring due to altitude. The trail narrows in parts, and you’ll see Barafu Camp in the distance.

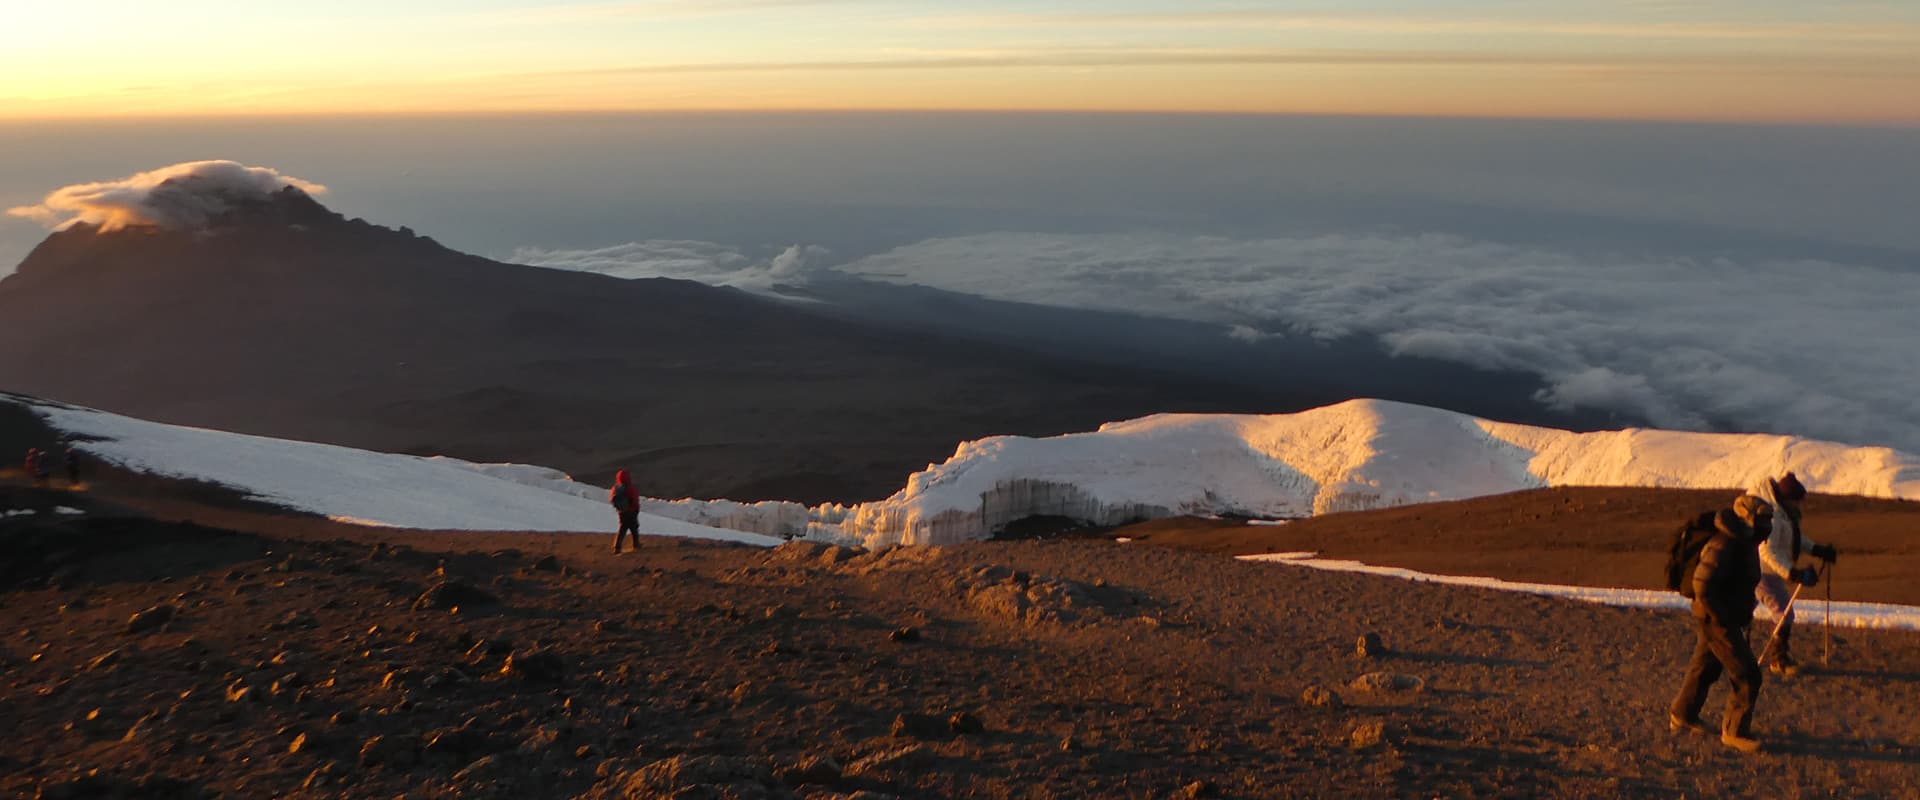
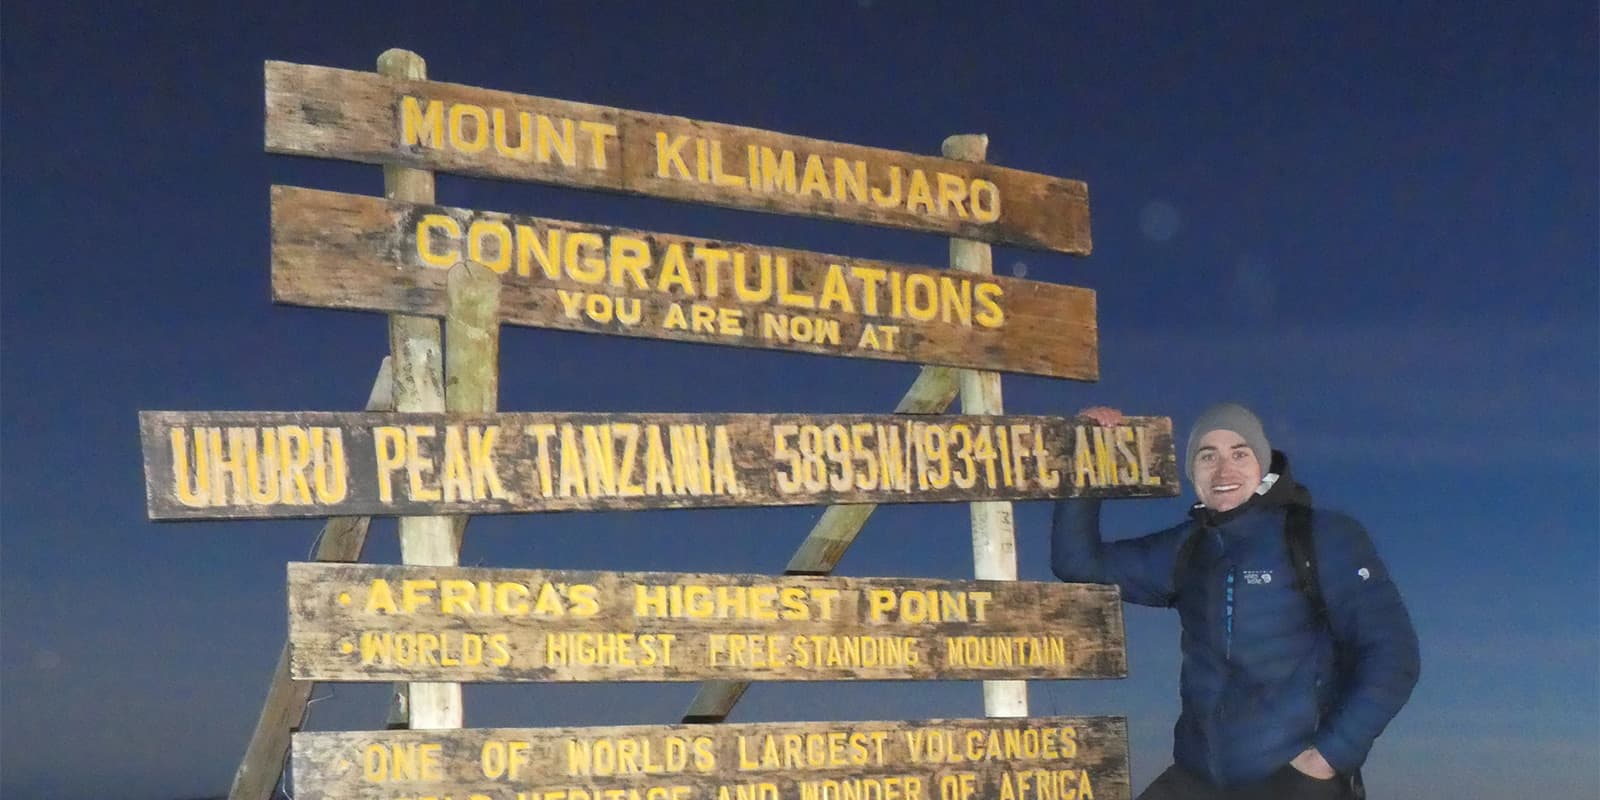
You’ll summit Kiliminjaro from Barafu Camp on a slow, steep ascent. The trail is a mix of loose scree and packed dirt. Most climbers are moving in silence, focused on the rhythm of their steps. It’s dark and cold, but step by step, you reach Stella Point and then Uhuru Peak as the sun rises. You’ll likely begin trekking hours before sunrise to make it in time, so this is a game of sustaining your energy for a long trail.

Finally, after summitting, you’ll head back down. The descent follows the Mweka Route, which will give you a different perspective of the mountain and reduce trail impact by spreading out the traffic.This route is faster but tough on the knees. Scree makes the upper trail slippery, so you may slide down sections, while the lower trails have firmer footing. After the high camps, you’ll soon be back in the rainforest zone, where it’s warmer and the trails are damp but manageable.

A few of the key highlights include the Shira Plateau (3,810m), where trekkers often witness their first stunning views above the clouds, and the imposing Lava Tower (4,630m) – a 300-foot volcanic rock formation that is used as an acclimatization point. The Barranco Wall, a 257m scramble that looks more intimidating than it is, is also an exciting challenge on day four.

With a success rate of roughly 80-85%, compared to the Marangu route’s 50-65%, the Machame Route will give you better acclimatization even though it has steeper terrain. It’s particularly popular among experienced hikers who want both challenge and scenic beauty, though its popularity means you won’t find much solitude during peak seasons (June-October and December-March).

Stages

6-stage itinerary

Stage 1: Machame Gate  – Machame Camp, 11 km | 7 mi 

Stage 2: Machame Camp – Shira 2 Camp, 5 km | 3 mi

Stage 3: Shira 2 Camp – Barranco Camp, 10 km | 6 mi

Stage 4: Barranco Camp – Barafu Camp, 9 km | 5 mi

Stage 5.1: Barafu Camp – Uhuru Peak, 5 km | 3 mi

Stage 5.2: Uhuru Peak – Mweka Camp, 12 km | 7 mi

Stage 6: Mweka Camp – Mweka Gate, 10 km | 6 mi

Orginal 7-stage itinerary

Stage 1:

Machame Gate  – Machame Camp, 11 km | 7 mi

Stage 2:

Machame Camp – Shira 2 Camp, 5 km | 3 mi

Stage 3:

Shira 2 Camp – Barranco Camp, 10 km | 6 mi

Stage 4:

Barranco Camp – Karanga Camp, 5 km | 3 mi

Stage 5:

Karanga Camp – Barafu Camp, 4 km | 2 mi

Stage 6:

Summit to Uhuru Peak

1. Barafu Camp – Uhuru Peak, 5 km | 3 mi

2. Uhuru Peak – Mweka Camp, 12 km | 7 mi

Stage 7:

Mweka Camp – Mweka Gate, 10 km | 6 mi

Accommodations

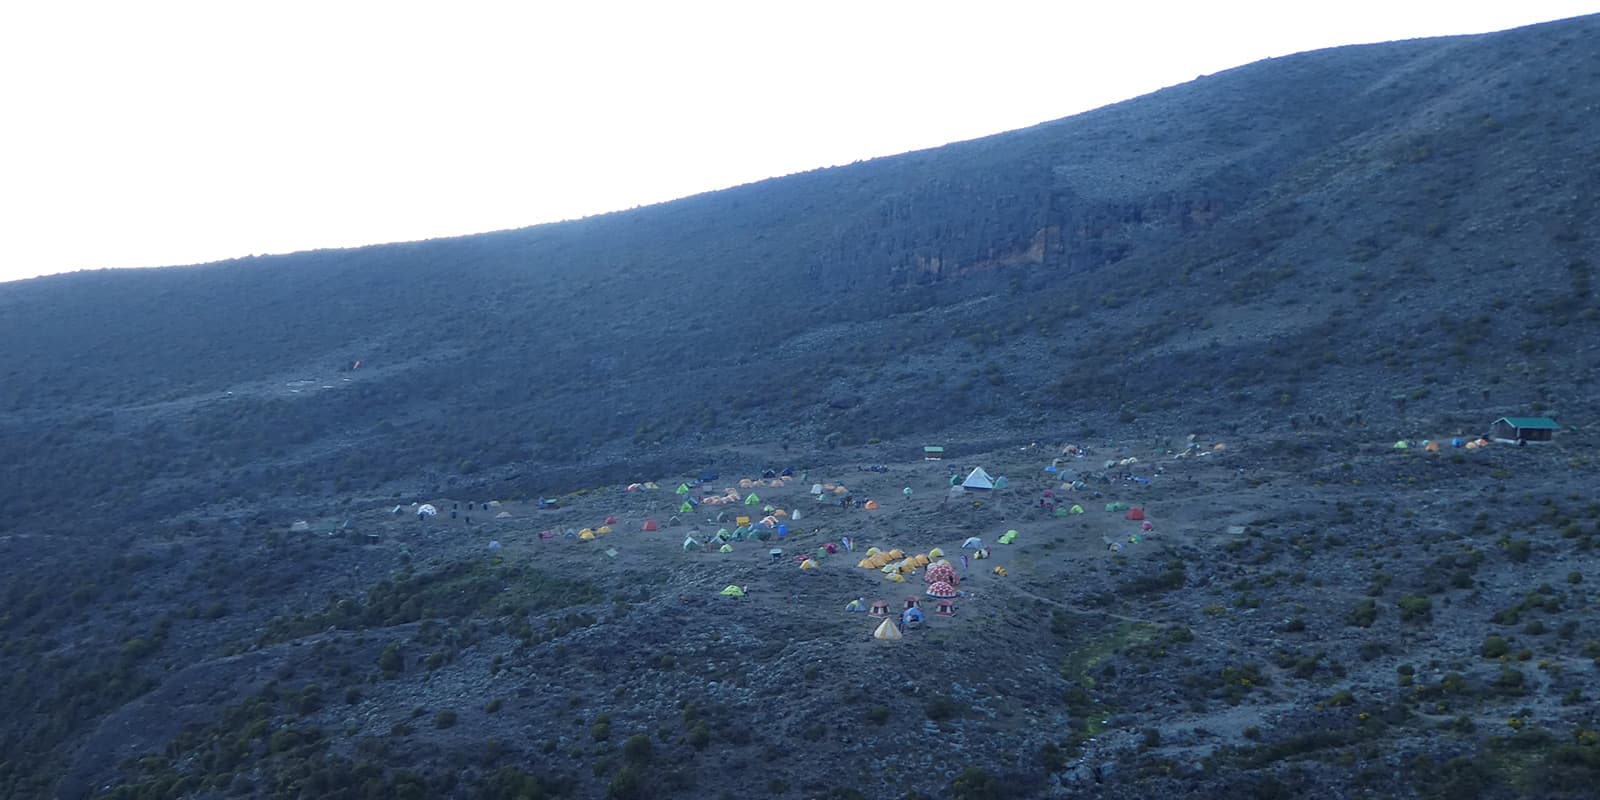
You’ll spend the night at a series of camps that will feel out of this world: Machame Camp (3,010m), Shira Camp (3,810m), Barranco Camp (3,976m), Karanga Camp (3,995m), and Barafu Camp (4,673m).

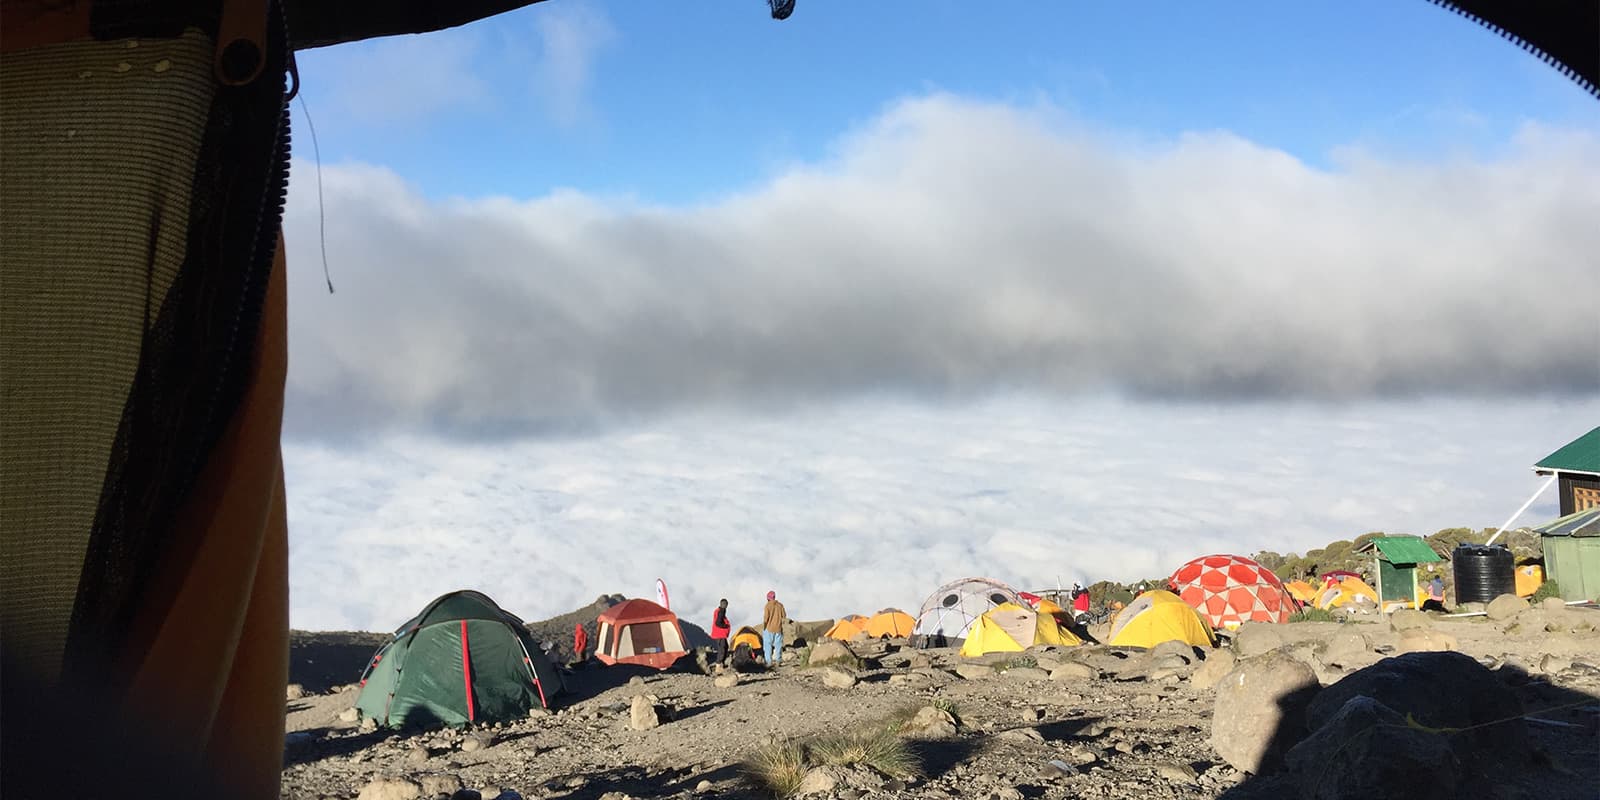
The campsites on the Machame Route – Kilimanjaro will be fairly basic and more sparse the higher you go with less wind protection. However, the tours will set up a communal dining tent, with basic tables and chairs, where meals are served.

There are also basic long-drop toilets available, although some tour companies bring portable toilets for extra comfort. If this is important to you, be sure to check in with them about it before booking!

Additionally, you will usually be assigned porters to carry the bulk of your camping equipment, food, and water, in addition to communal items like tents and cooking gear. They’ll set up your tent before you arrive each day so you can rest right away. Definitely one of the perks of booking with a group!

Best time of the year

Kilimanjaro, unlike the Himalayas, has year-round trekking, but good planning is essential. January to March is considered the “high season,” with fewer crowds compared to June to September. These months will have dry, clear days and good visibility, as well as snow above 4267 meters that will make for wonderful photo opportunities.

Early March can also be pleasant, but as the month progresses, it becomes rainier, leading to muddy trails, cloudy skies, and poor visibility. Late March and late May can sometimes have drier weather, but it is unpredictable. April to early May are the long rains and not as suitable for climbing.

But the best weather coincides with summer vacations in the US and Europe, making June through October the most important climbing season and the busiest. July and August have the most crowds, so consider June or September for fewer visitors. Occasional showers are possible, mainly in the forest, but it is generally dry. You’ll see that the routes are busier, especially during full moon.

Temperatures vary with the seasons and altitude. The top zone is “Arctic,” with year-round freezing temperatures. December to March and June (just after the rains) are the coldest months, often with snow on top.

Safety & Gear

One of the main elements you need to be aware of when you climb Kilimanjaro is altitude sickenss. While the Machame route is known to help limit this, you’ll want to take other precautions as well.

  • Physical fitness training
  • Consider medication with your doctor, such as Diamox
  • Good hydration
  • Quality equipment and Kilimanjaro safety equipment

In case of acute mountain sickness, immediately inform your guide to initiate a Kilimanjaro Rescue for immediate evacuation.

Along that thought, you’ll want to make sure you book with a tour and guide whom you trust. Make sure you choose an experienced guide and company with a proven track record. You need to find someone who is iintimately familiar with Kilimanjaro’s climate and weather patterns. Look for a tour operator equipped to handle altitude sickness emergencies and has the knowledge to perform a rescue operation themselves and/or have the contact for a helicopter evacuation. You can reach out to your network or the Thru-Hiking Community for recommendations!

Good to know

Each day, you’ll just carry a day backpack of about 2-3 kilograms, although some people carry more or less. Your other equipment should weigh no more than 15 kilograms. This will be placed in a waterproof duffel bag at the start of the trail, and a porter will carry it for you.

You’ll need to mentally prepare for summit day. Guides who have reached the summit dozens of times report that it is very rare to encounter clouds at the summit at sunrise in any season. The day of the climb is a very long day of hiking. Some people may need 15 hours to reach the summit and descend to the campsite for the day.

route
Point to point
Highest point
5895m (19341 ft)

Want to submit a trail or make this page more complete?

Always read the disclaimer

Terms of Use: important to all visitors on this website. We strive to publish high quality content and information on this website. However it’s always possible that we’re missing out on some crucial information. In spite of the fact that this route, associated GPS track (GPX and maps) were prepared under diligent research by the specified contributor and/or contributors, the accuracy of such and judgement of the author is not guaranteed. Therefore, hiking-trails.com and contributors are in no way liable for personal injury, damage to personal property, or any other such situation that might happen to individuals hiking or following this route. Should you choose to hike this trail, this is always at your own risk. Check out our guidelines for safety hiking and Leave No Trace principles at the hiking 101 page.

Download GPX

Join the community!

Login or create a FREE account 😊

With an account you can:

Download GPX files

Pin trails to your wishlist

Mark trails as hiked by you

Rate hiking trails

Comment on trails, blogs and gear reviews

Happy trails!
Login

Don't have an account yet? Register here